DCDigital HW2 NAOMI & NAOMI 2 Installation Instructions
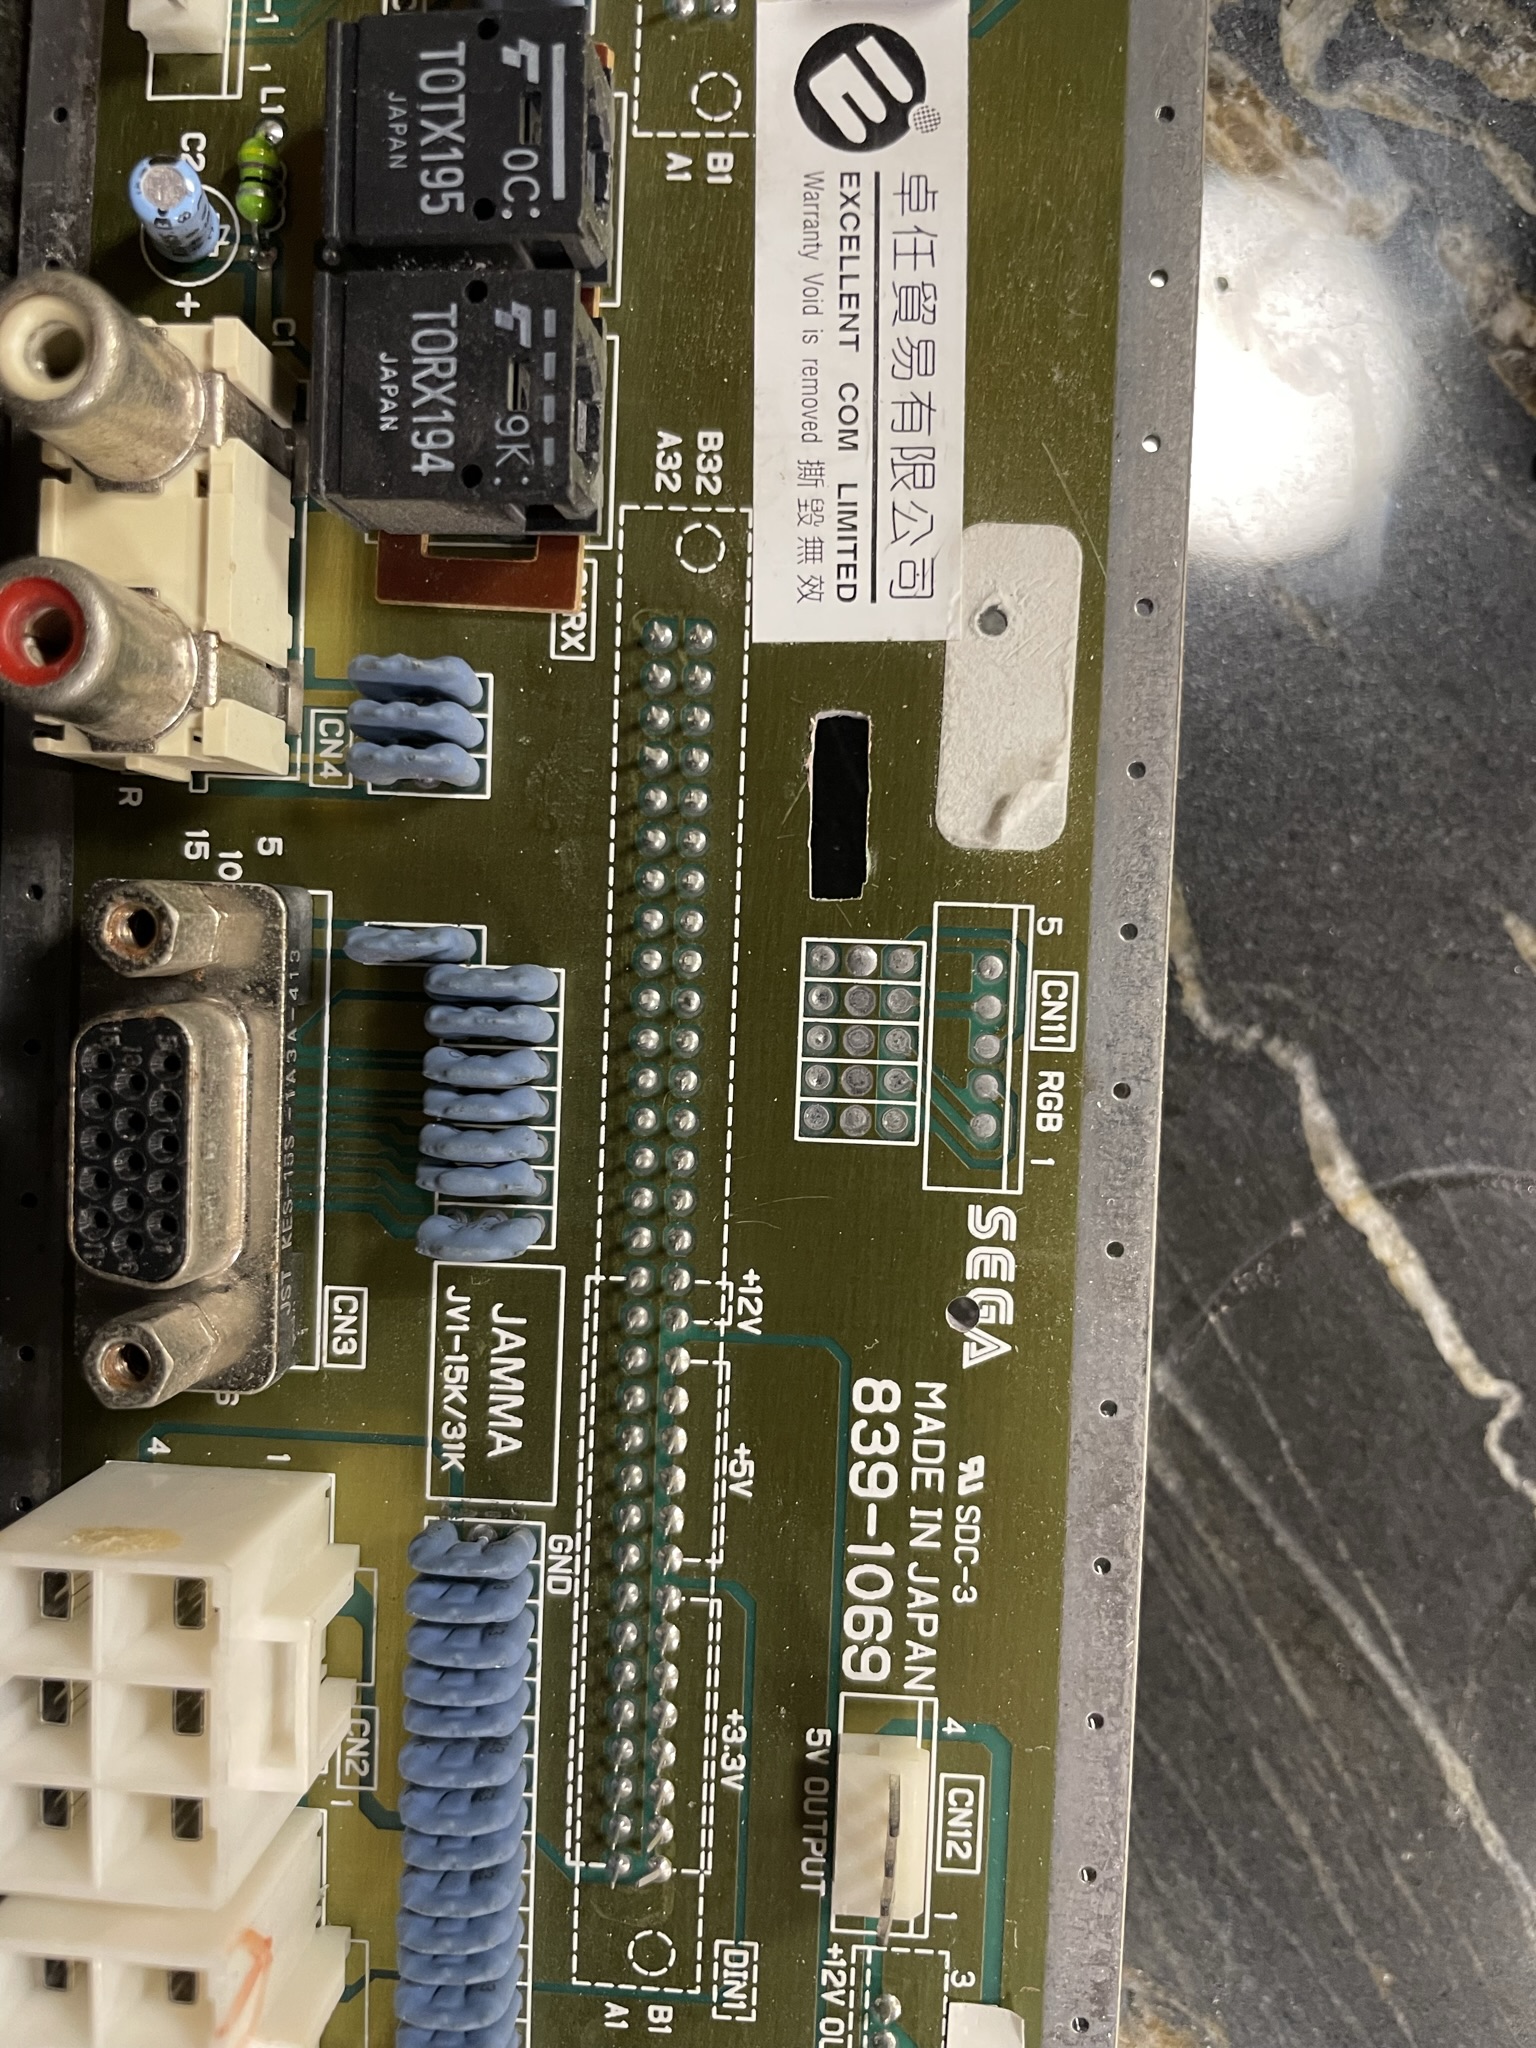
Please confirm your motherboard matches the Naomi 1 or Naomi 2 motherboard pictures. Some motherboards might be different. Care must be taken when installing
Other motherboards will likely work but have not been tested or tried.
Disclaimer:
This kit is for advanced installers only. Install at your own risk. We cannot be held responsible for damage to your console and/or kit. Each kit is individually tested and confirmed working before being shipped out.
Before you begin:
The DCDigital HW2 firmware must be controlled through CEC TV remote or wireless (via smart phone or pc). This is required to be able to change settings of the kit. This document will also skip many steps in the dissaembly/assembly process
Step 1 - Flex Installation
Please select your Naomi version to expand/collapse instructions!
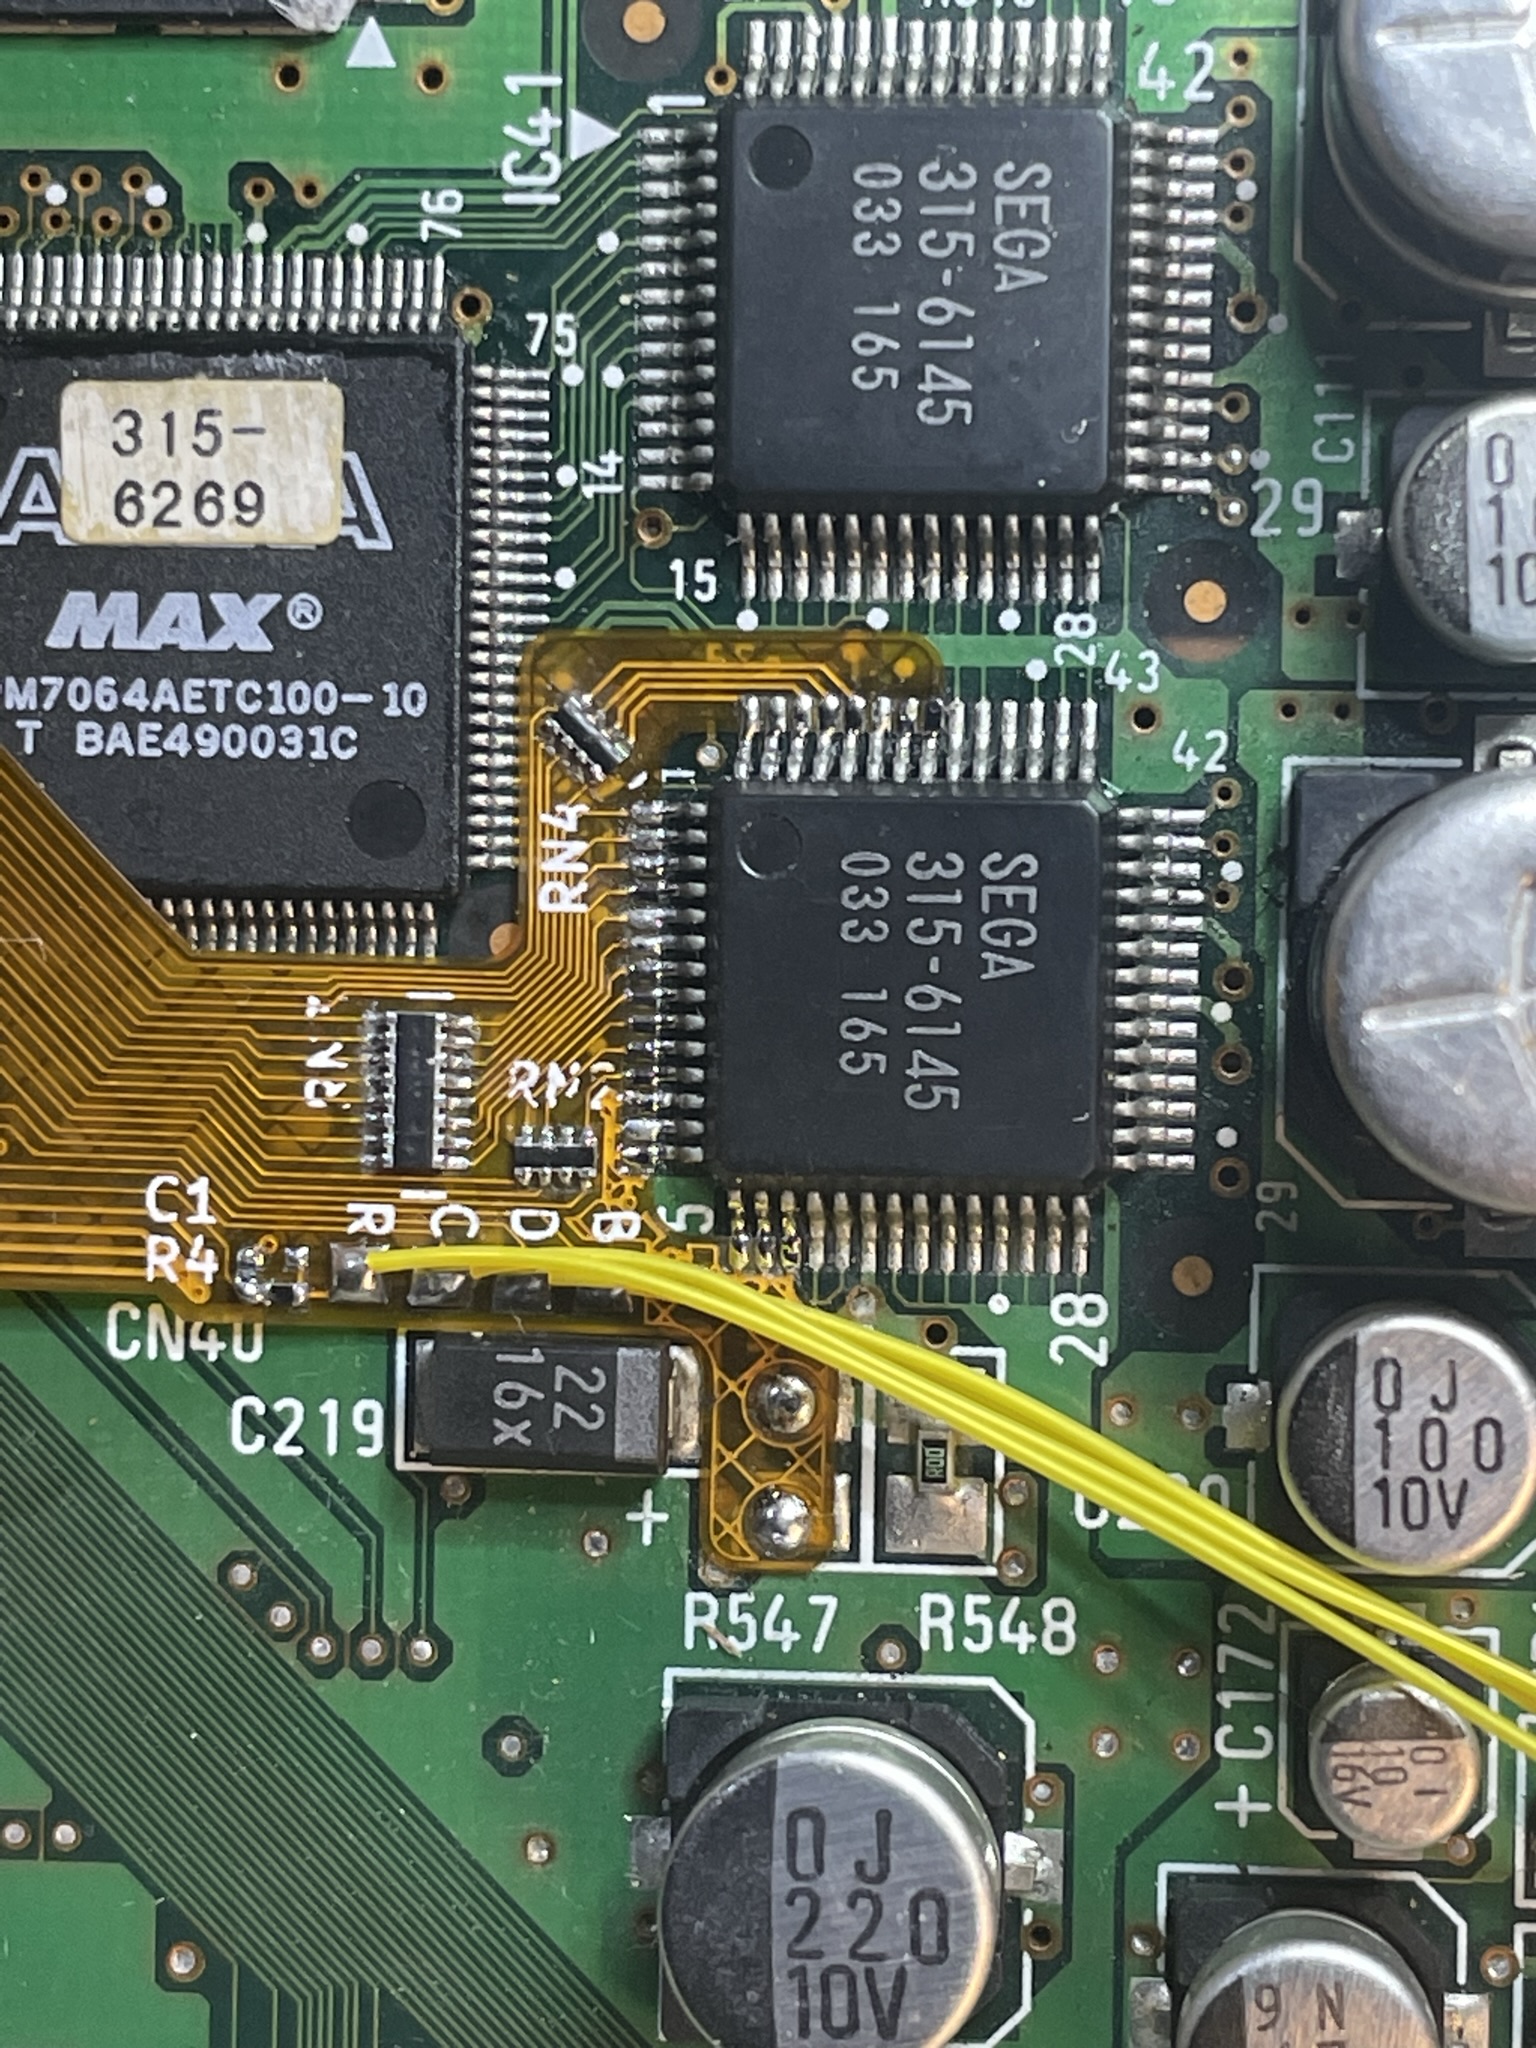
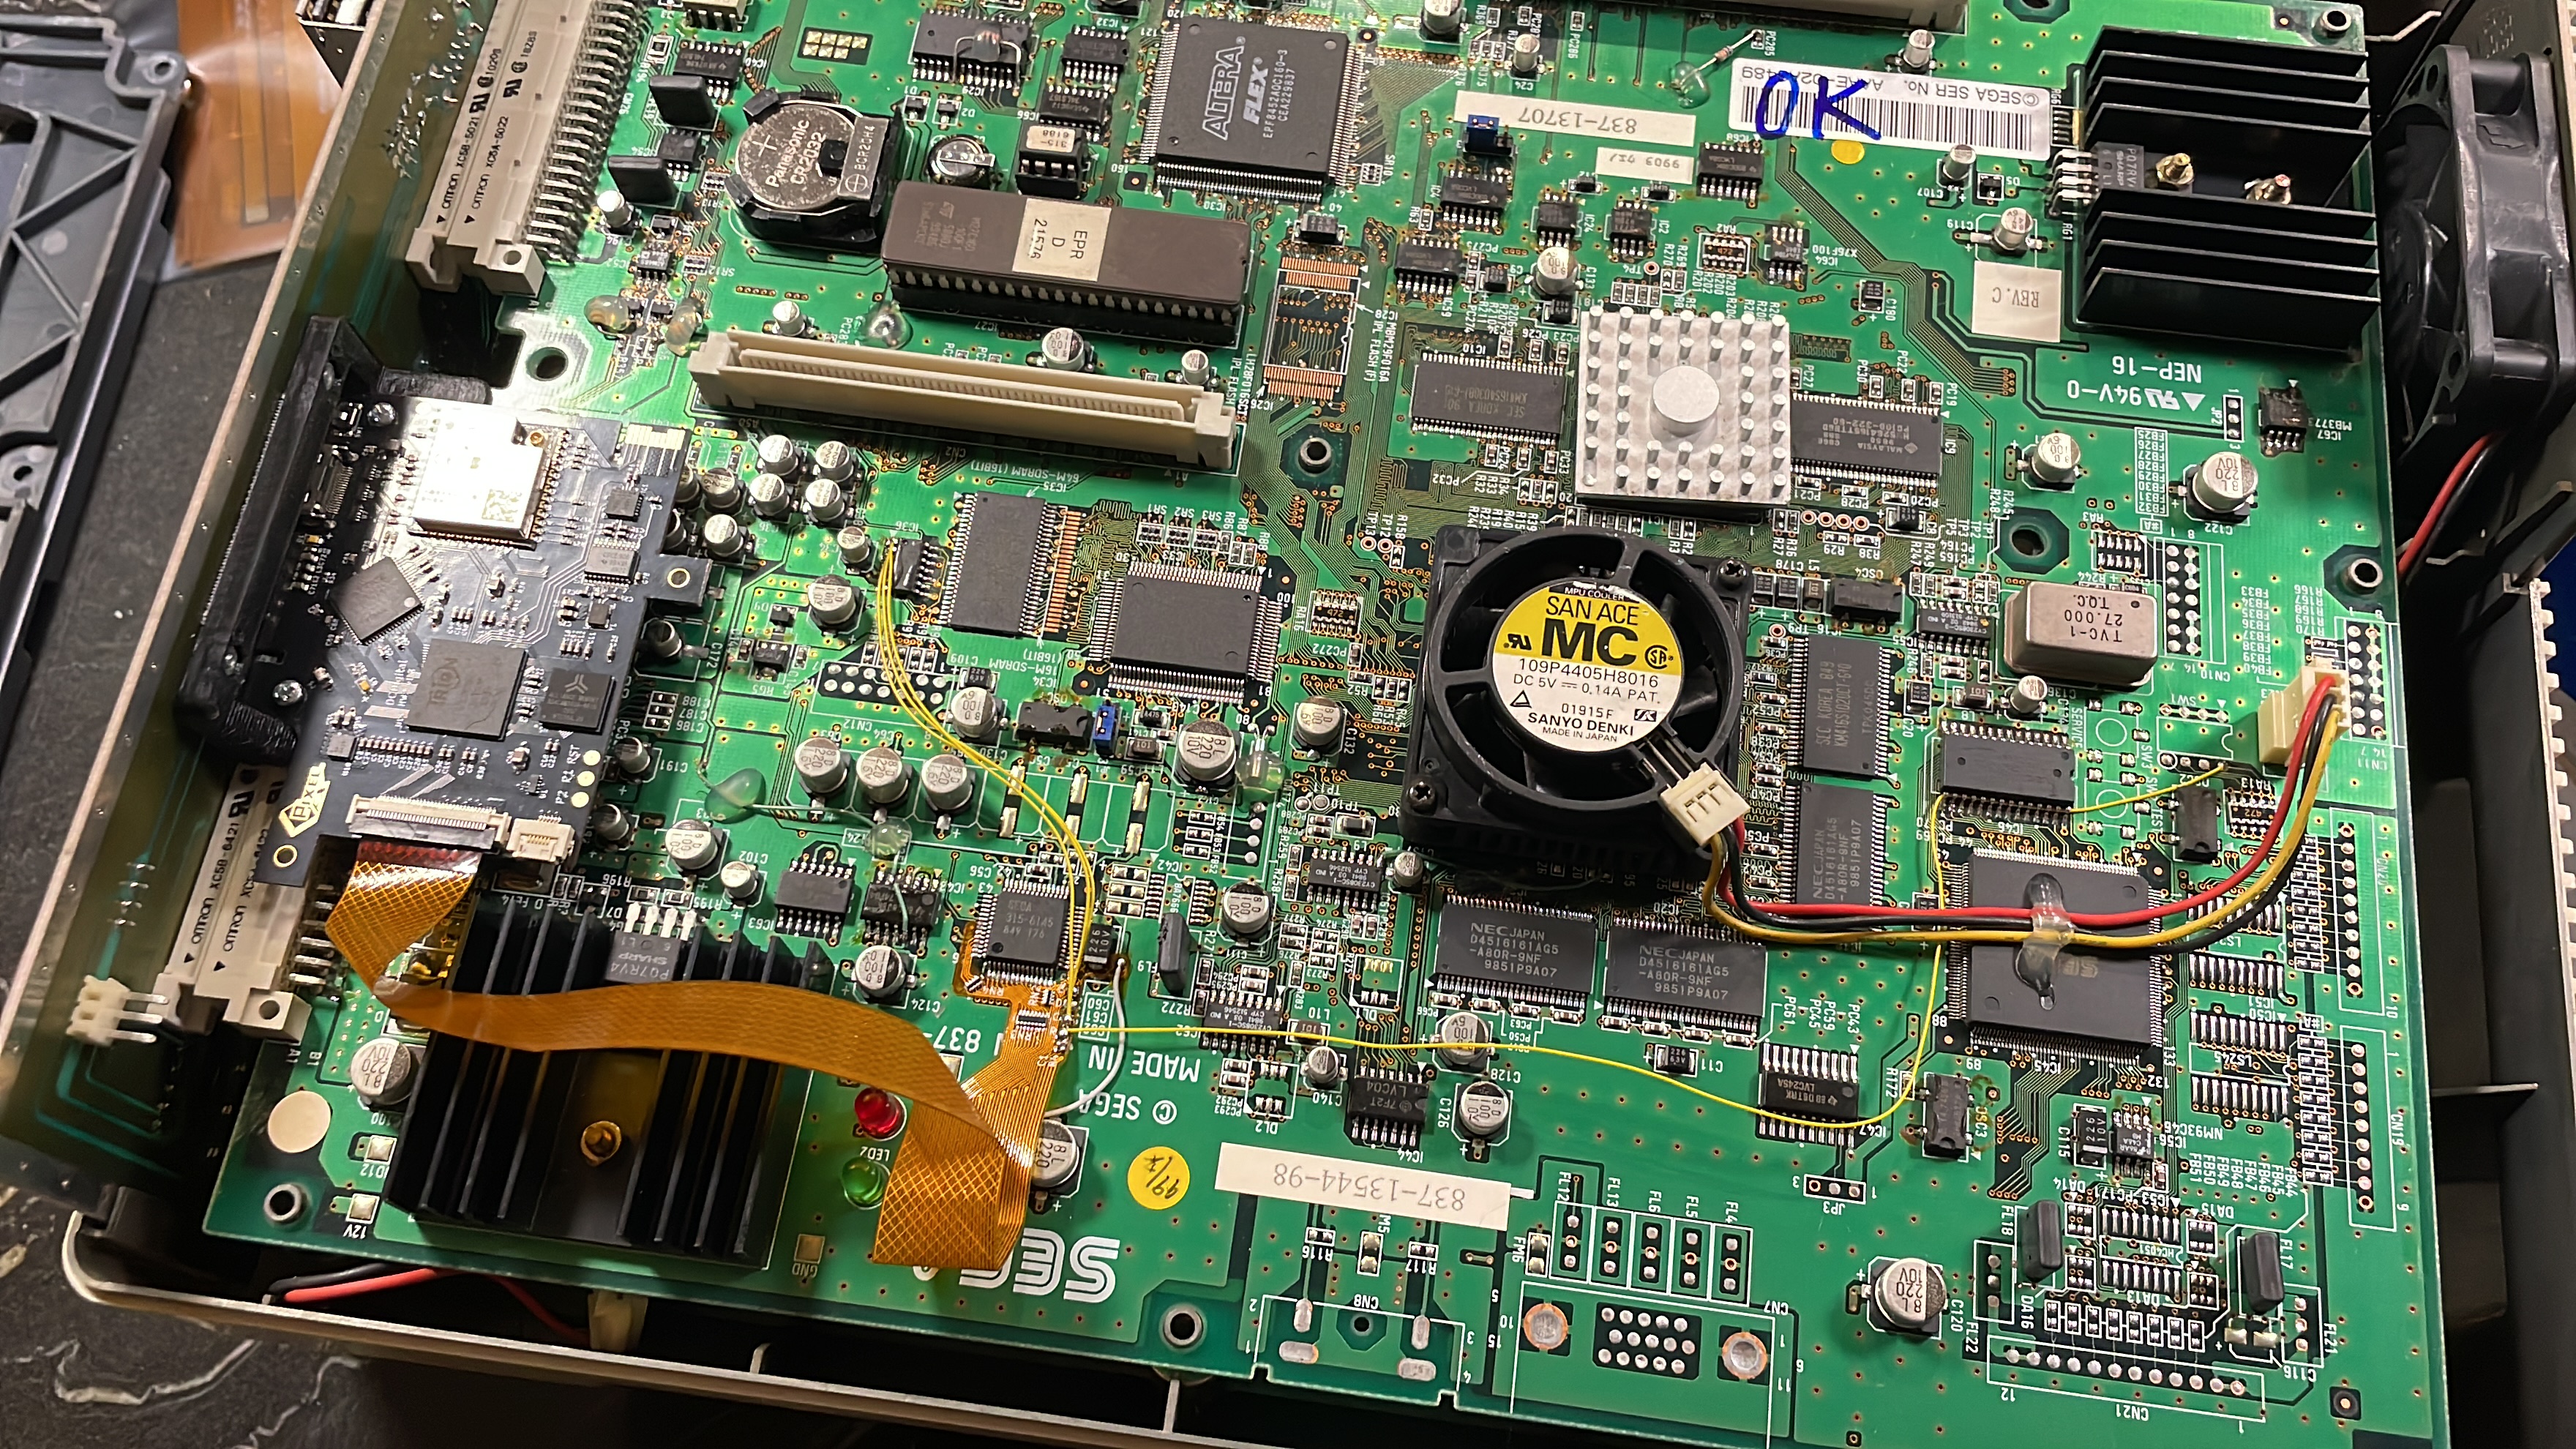
Naomi 1
Remove the large capacitor (don't lose) and install a small piece of kapton to isolate the 3.3V pad of the flex cable.
install the flat flex as shown below.
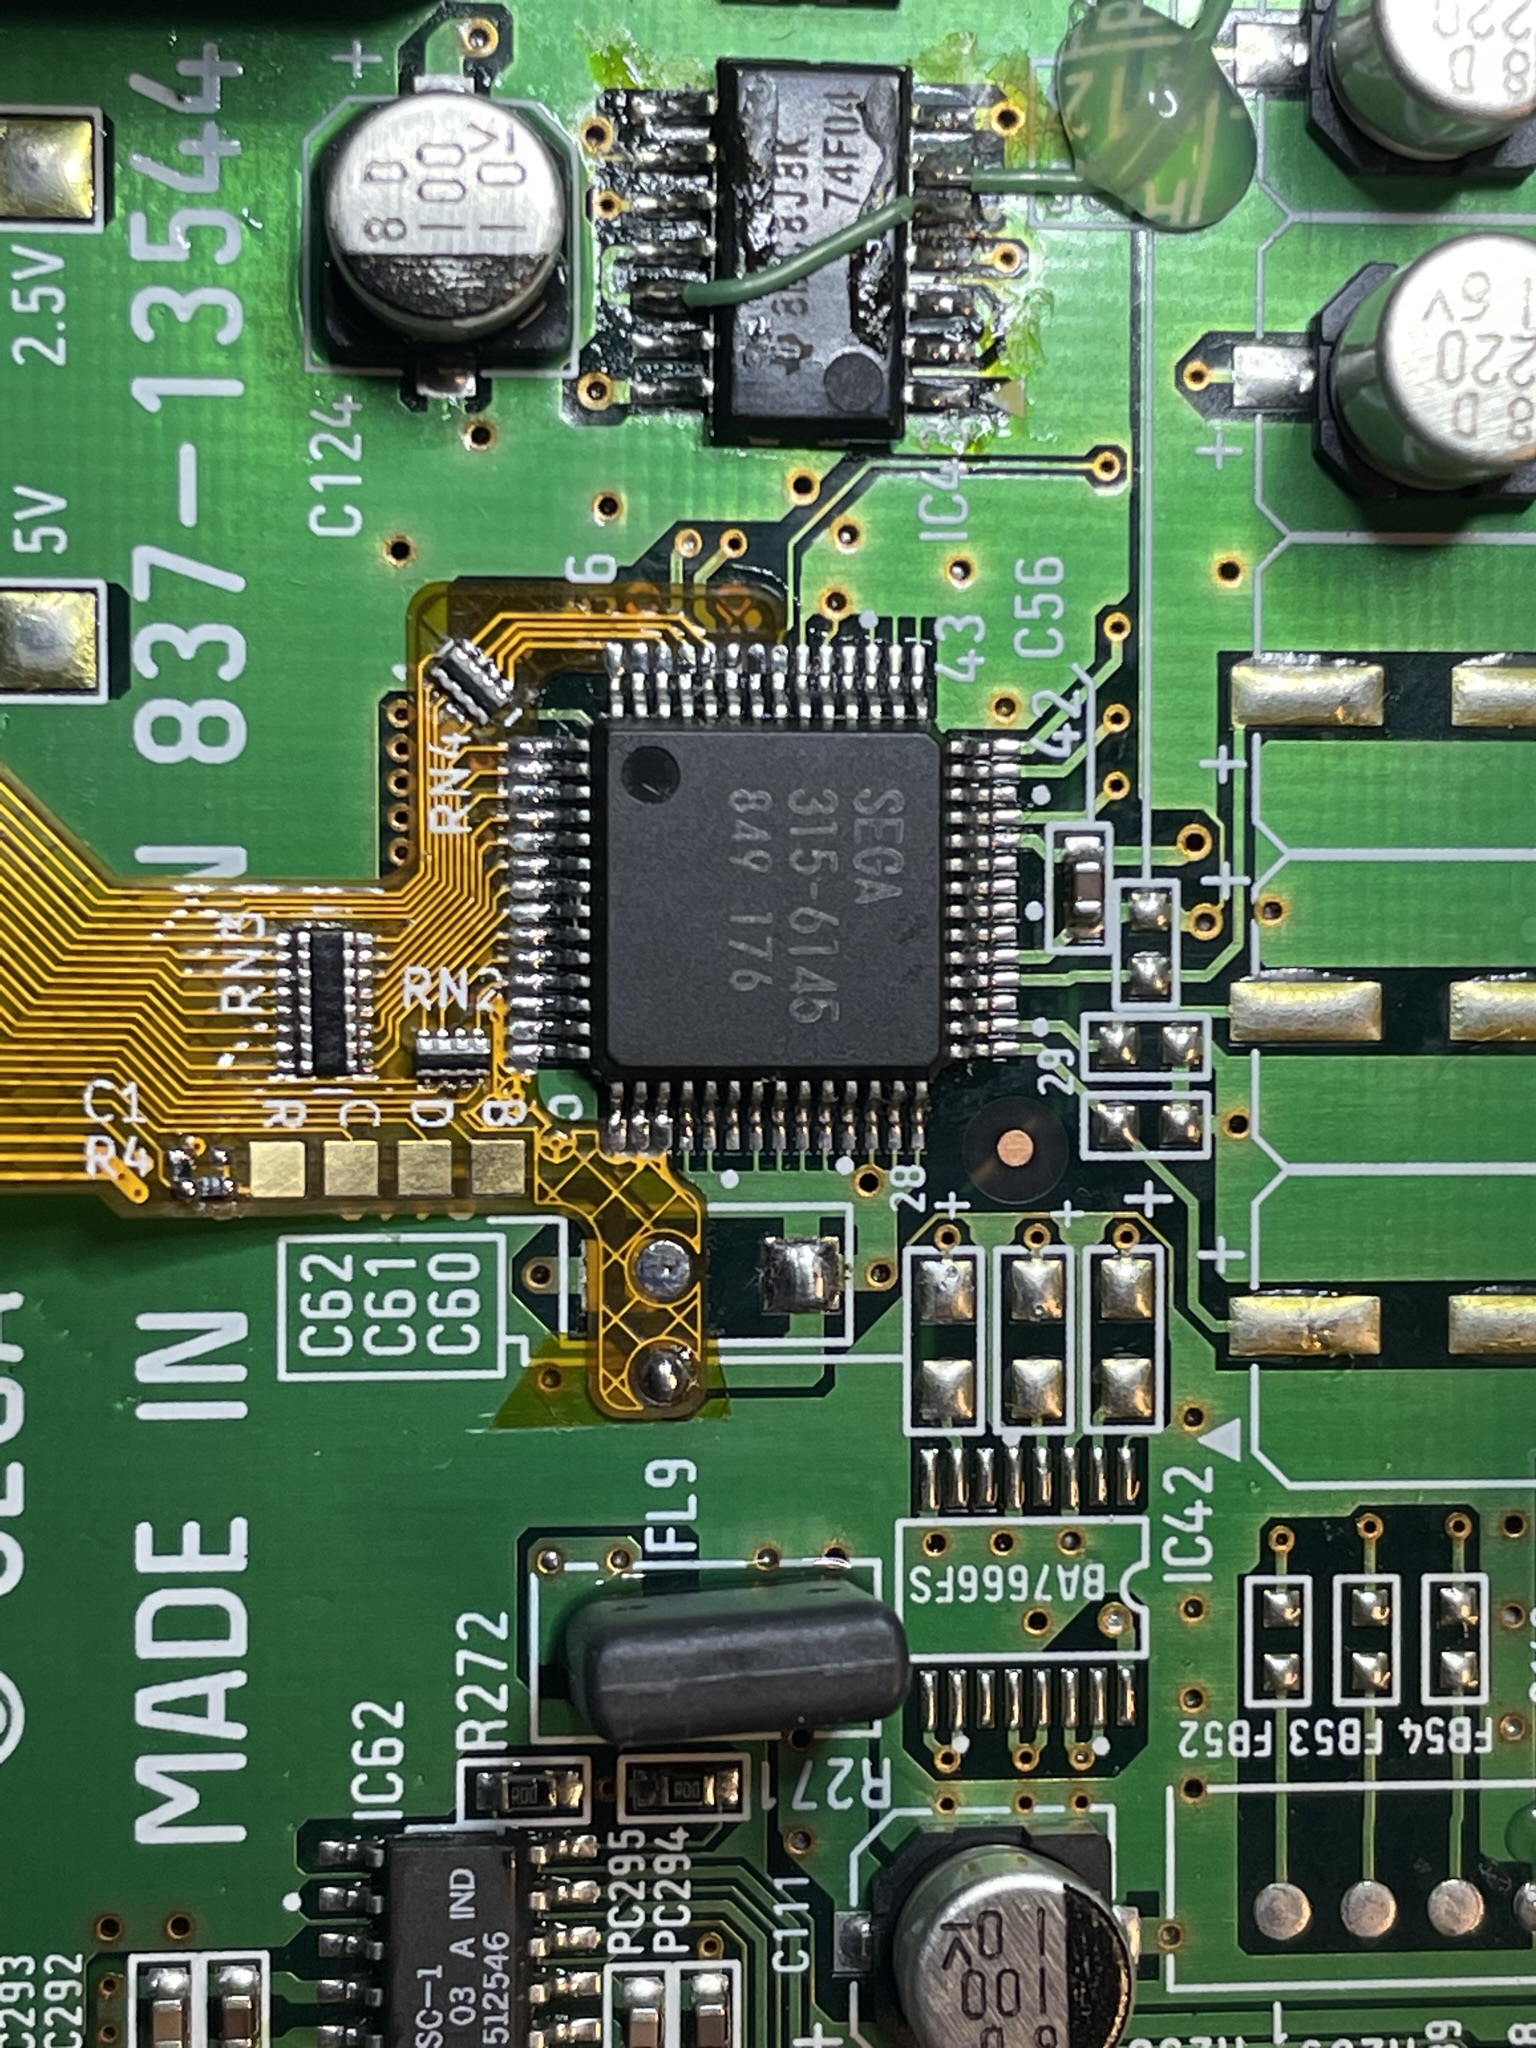
Reinstall the capacitor. Pay close attention the orientation. Use hookup wire and connect the 3.3V pad to the flex as shown.
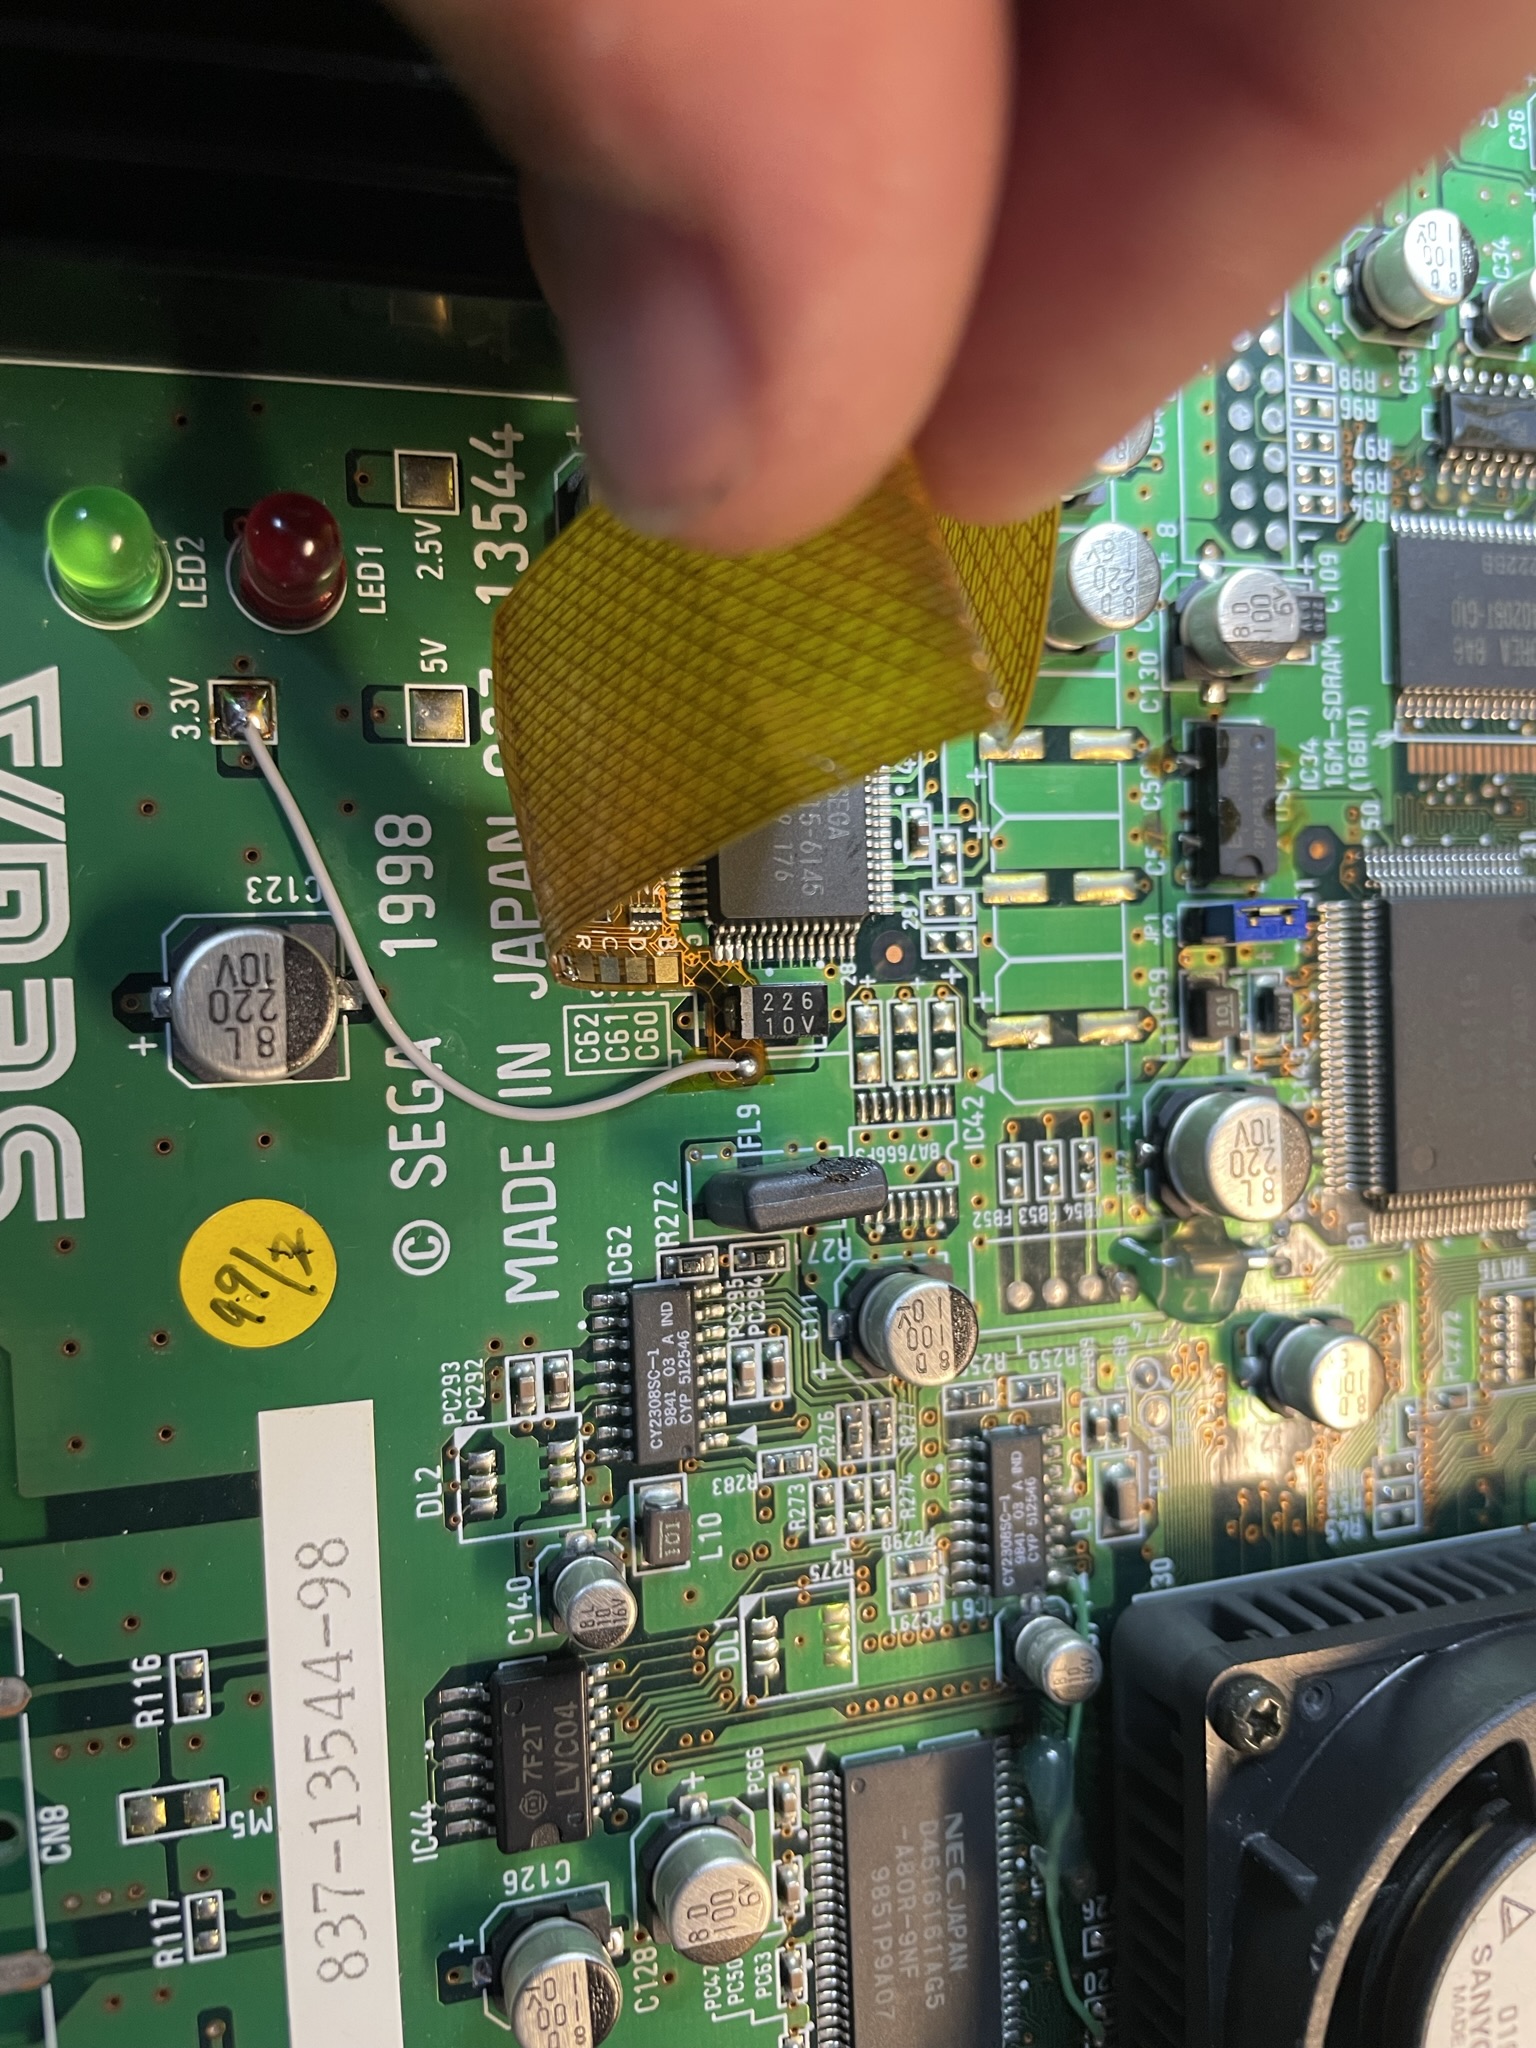
Use hookup wire and connect the the audio and output resolution wires to the main flex.
IC36
- PIN1 = PAD C
- PIN2 = PAD D
- PIN3 = PAD B
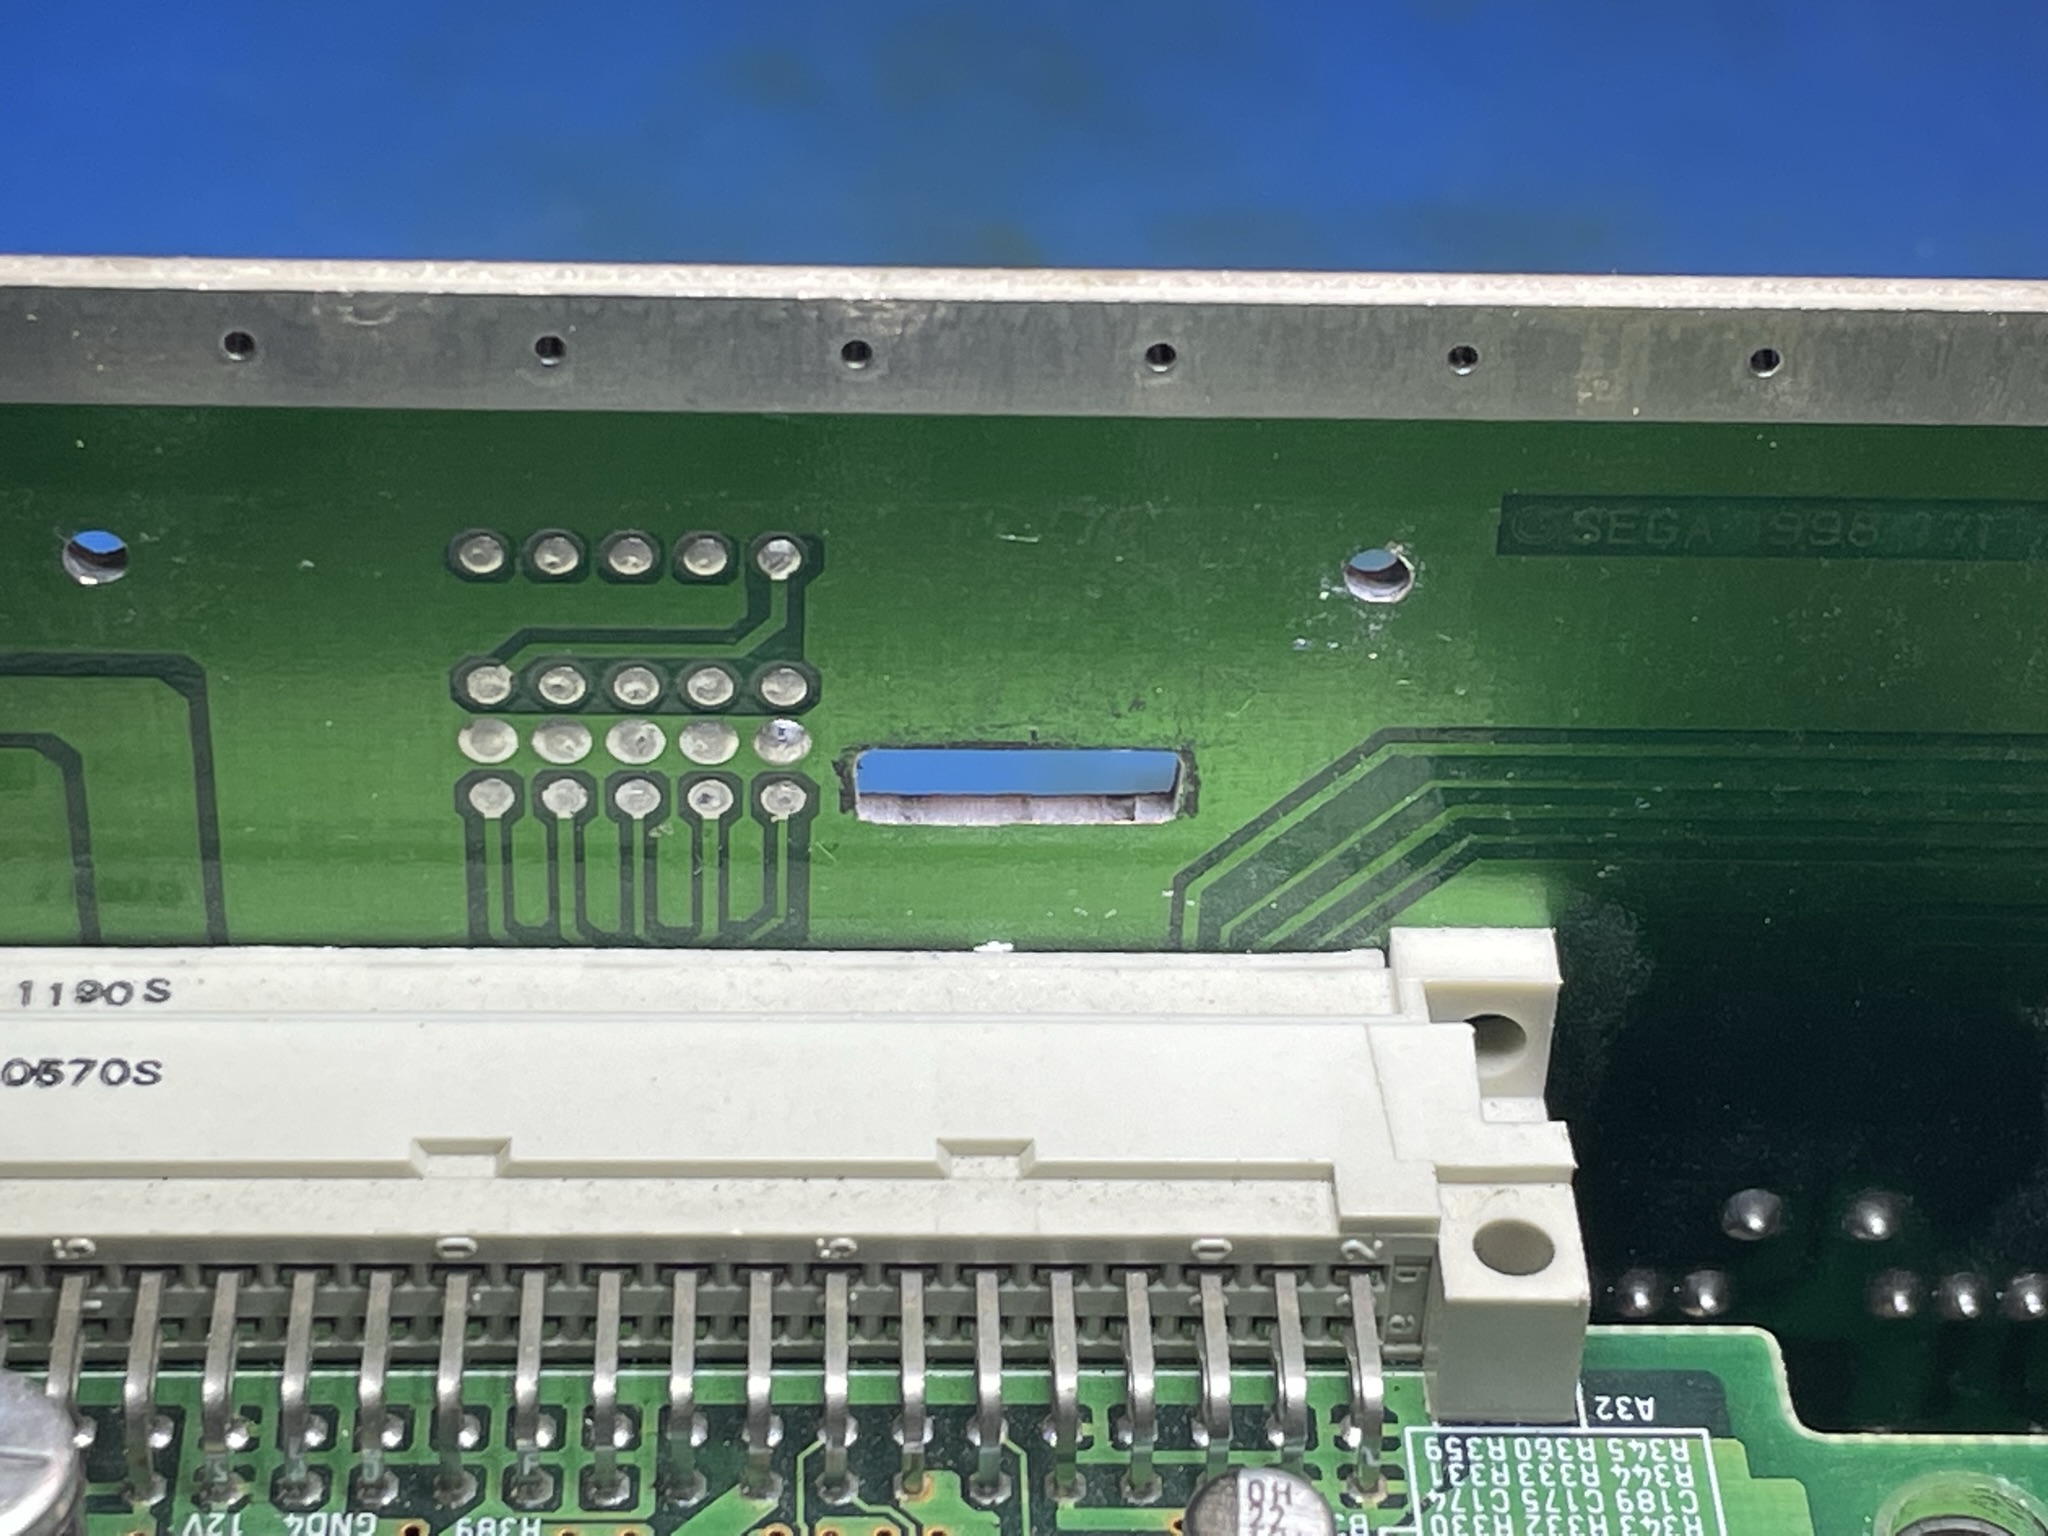
Solder Pad R to the pad shown in the image below.
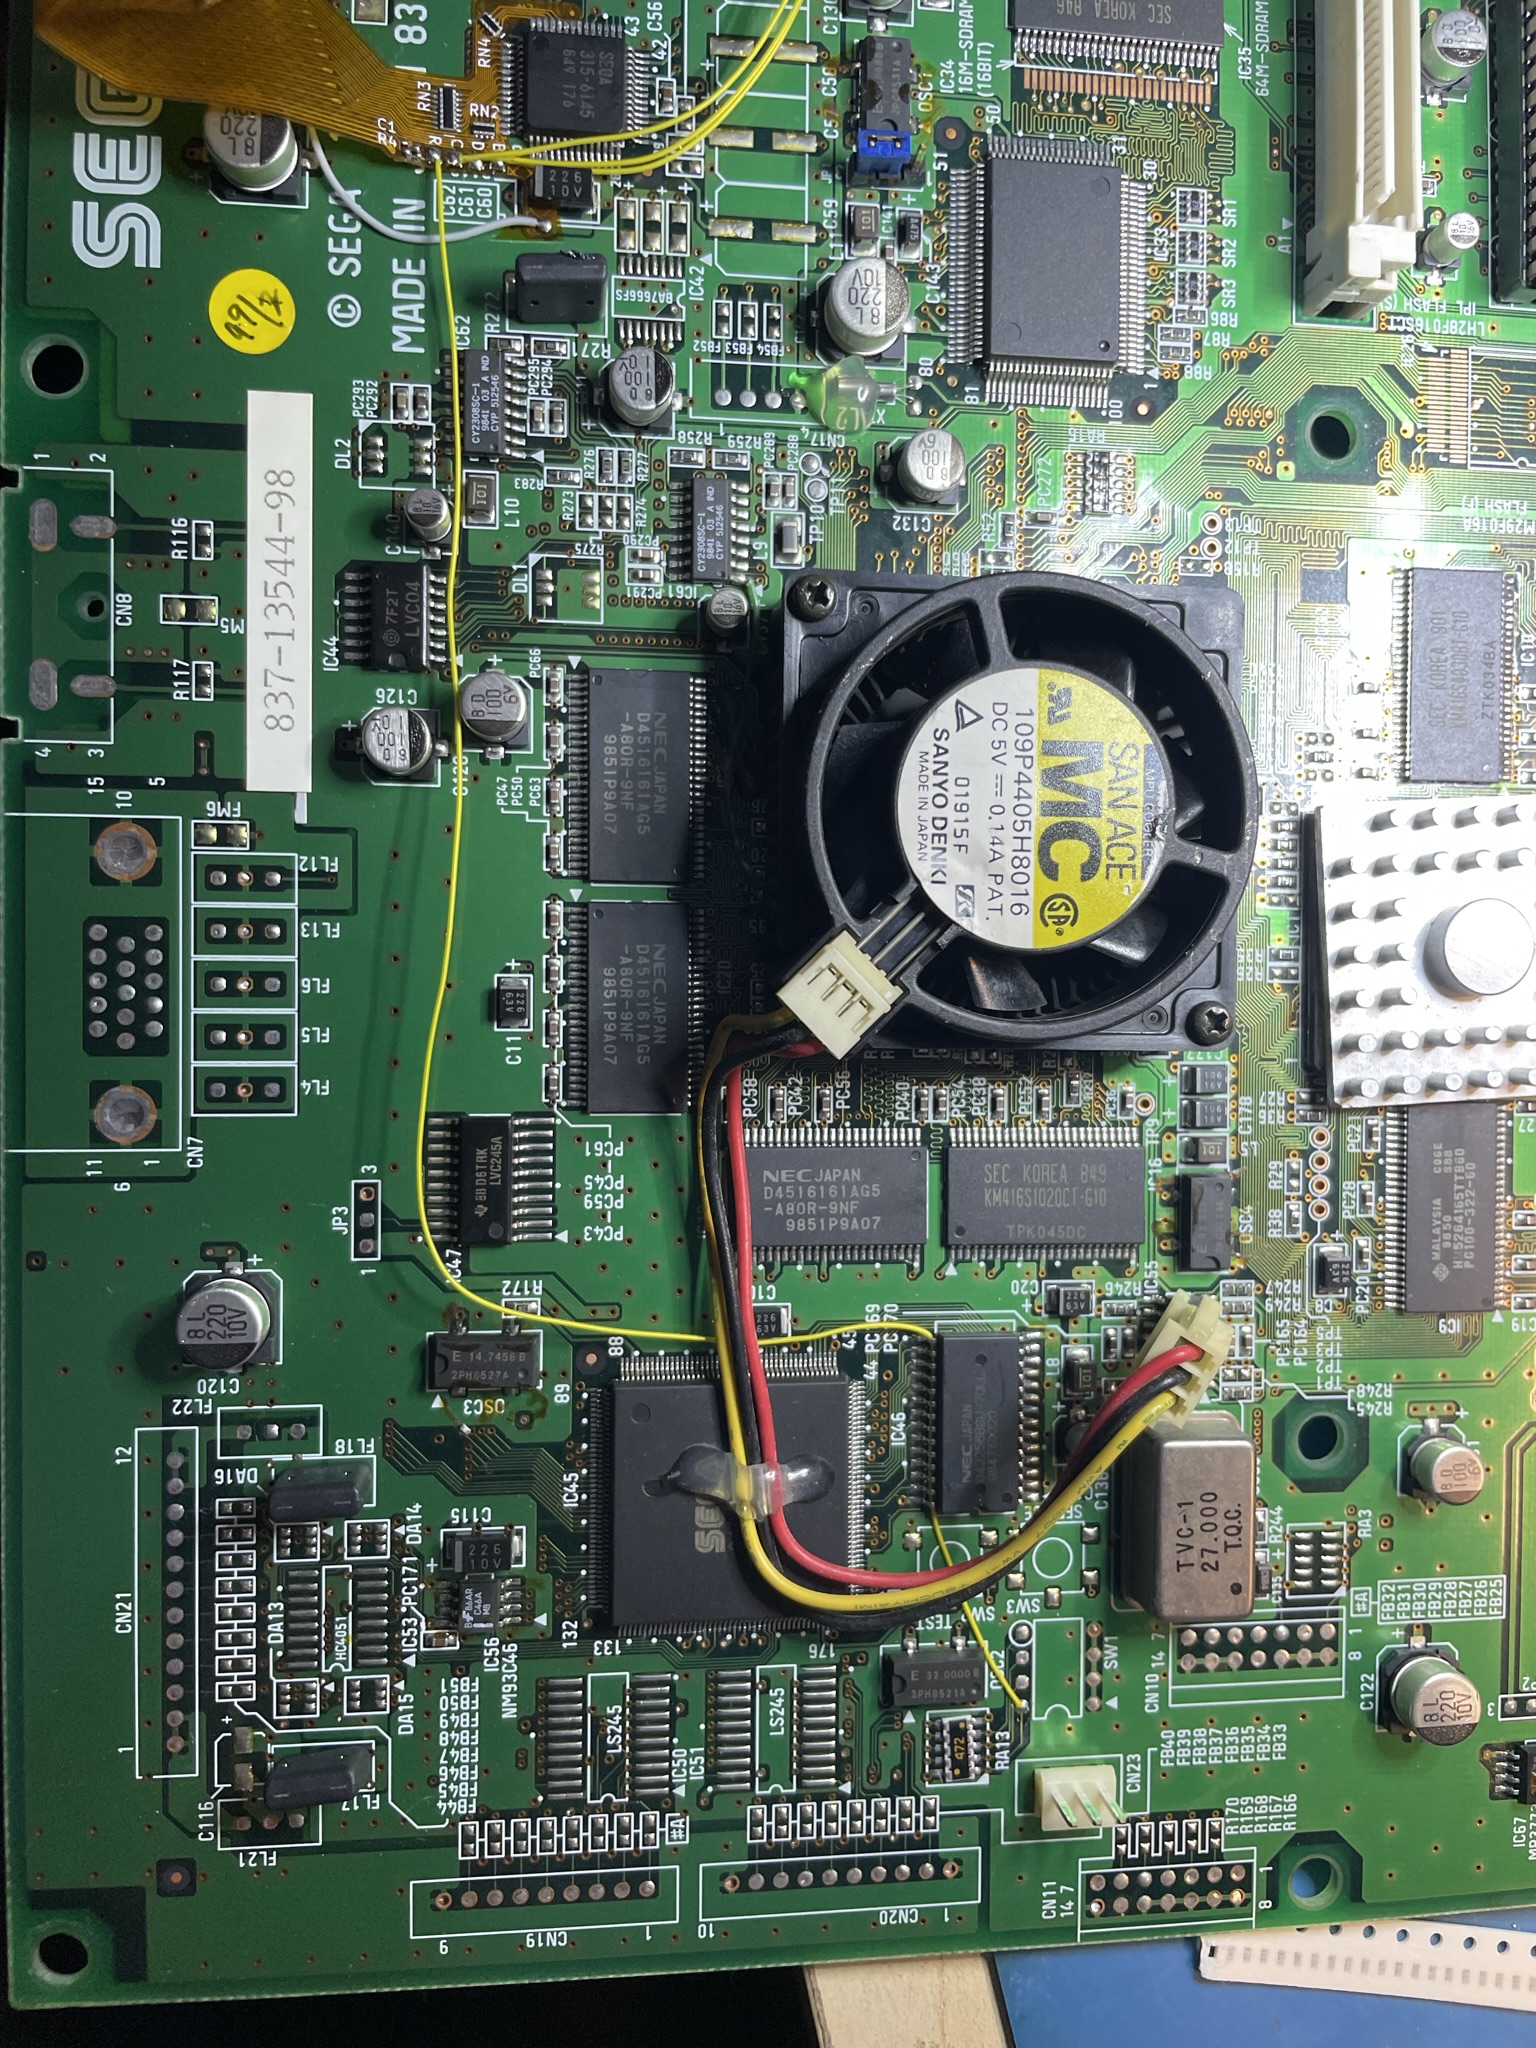
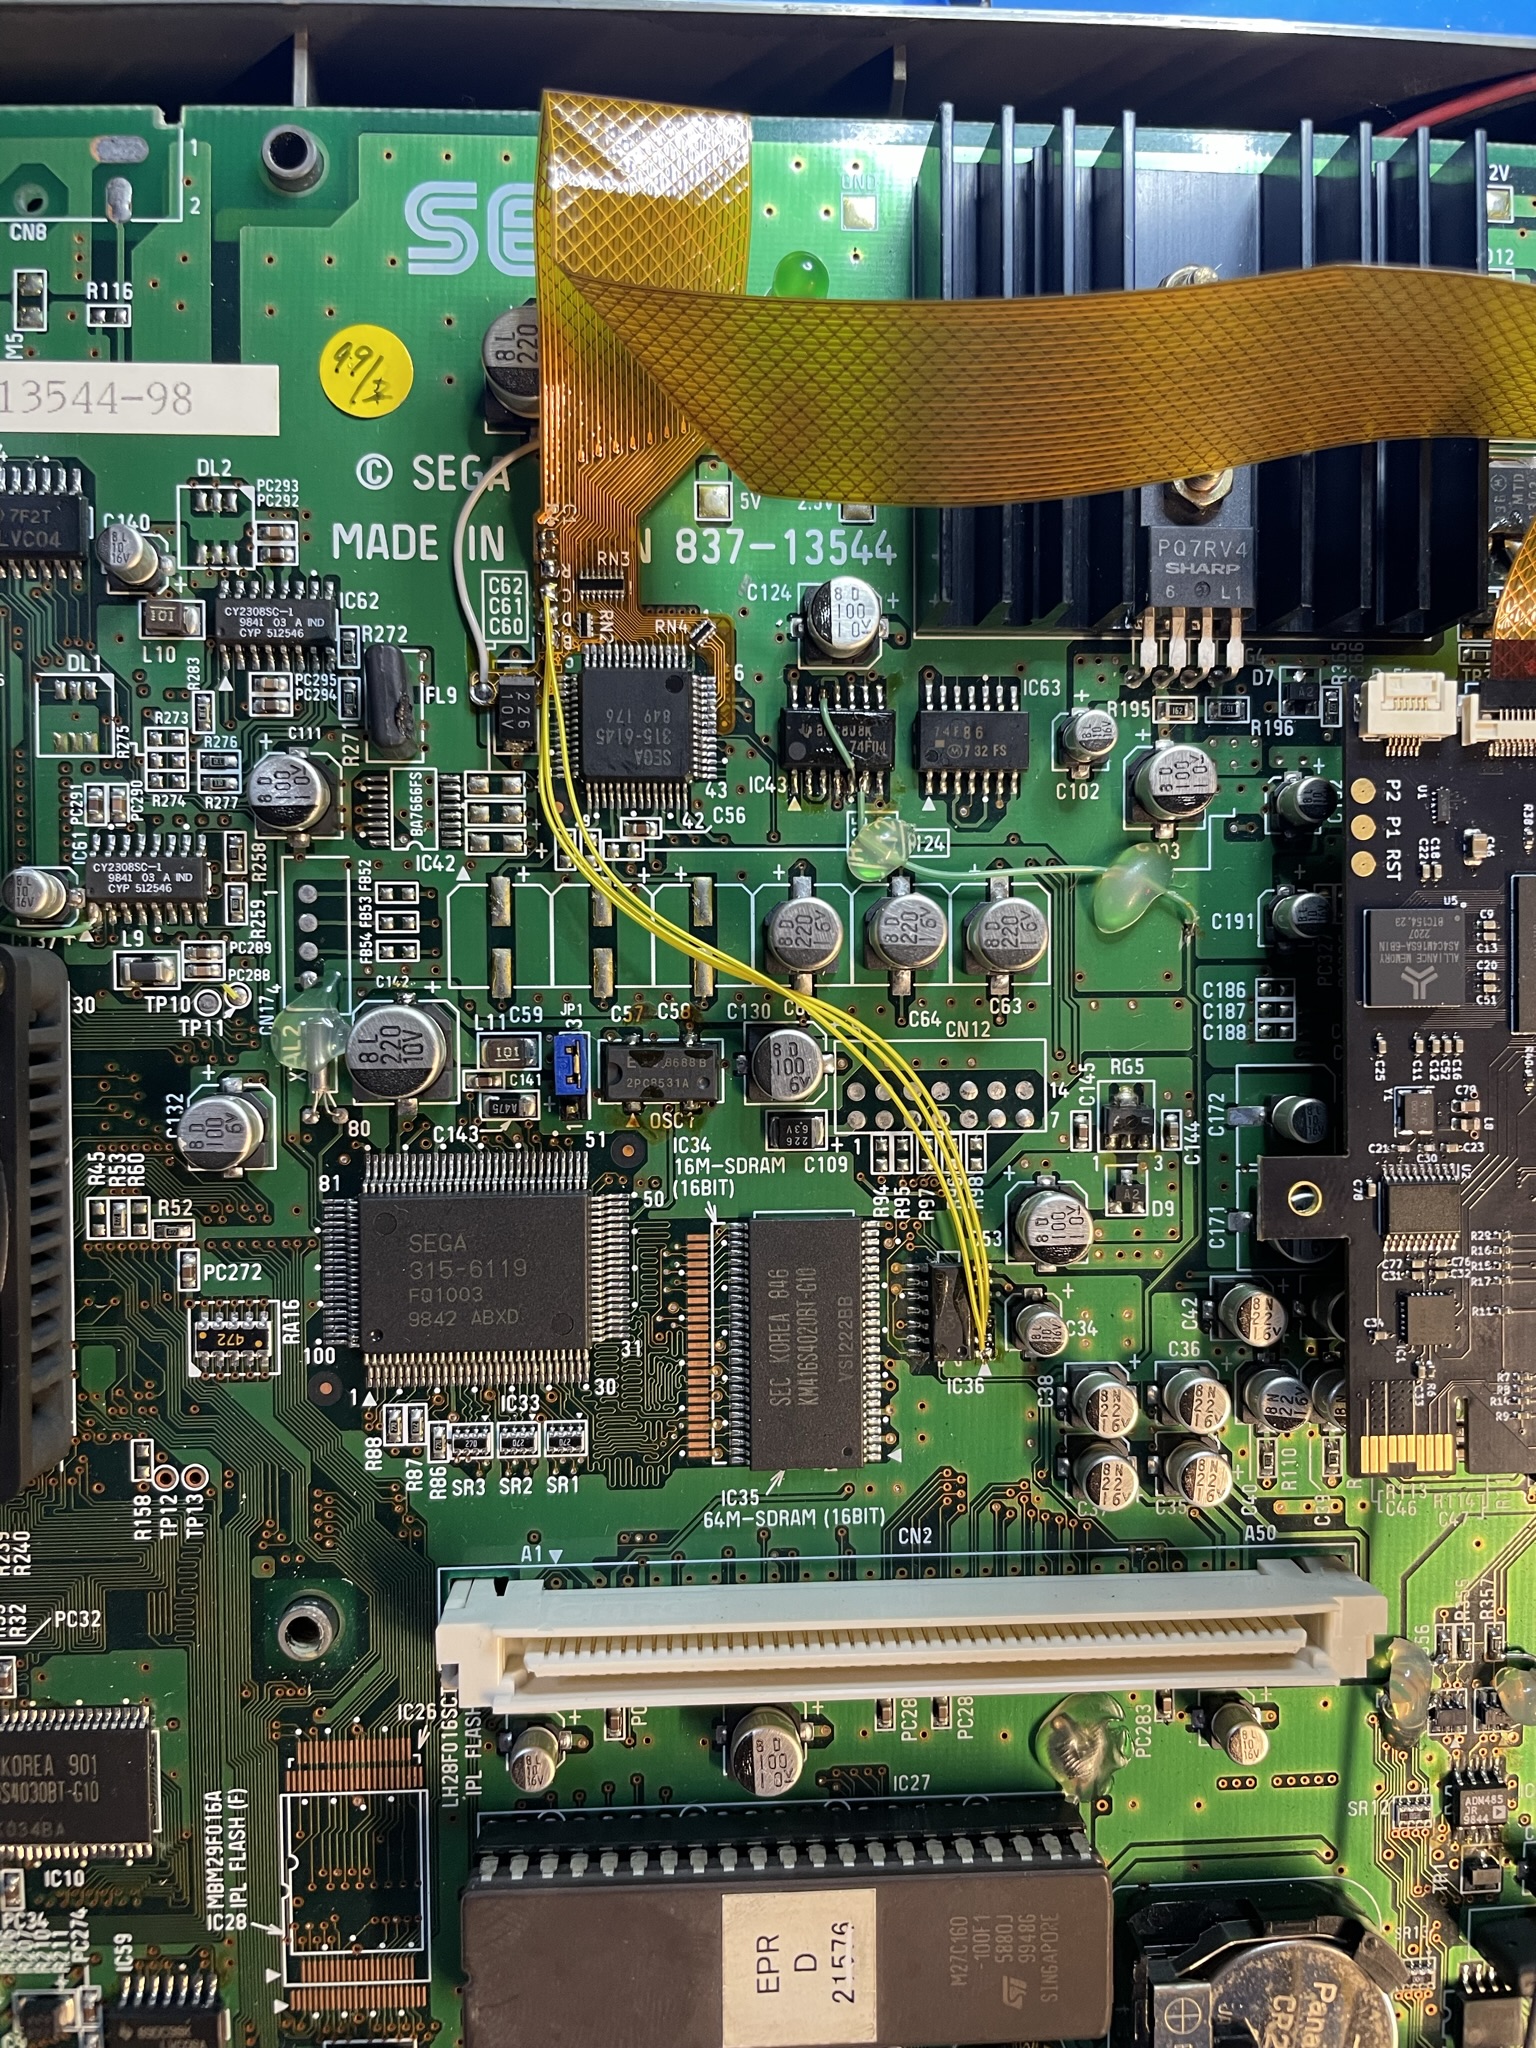
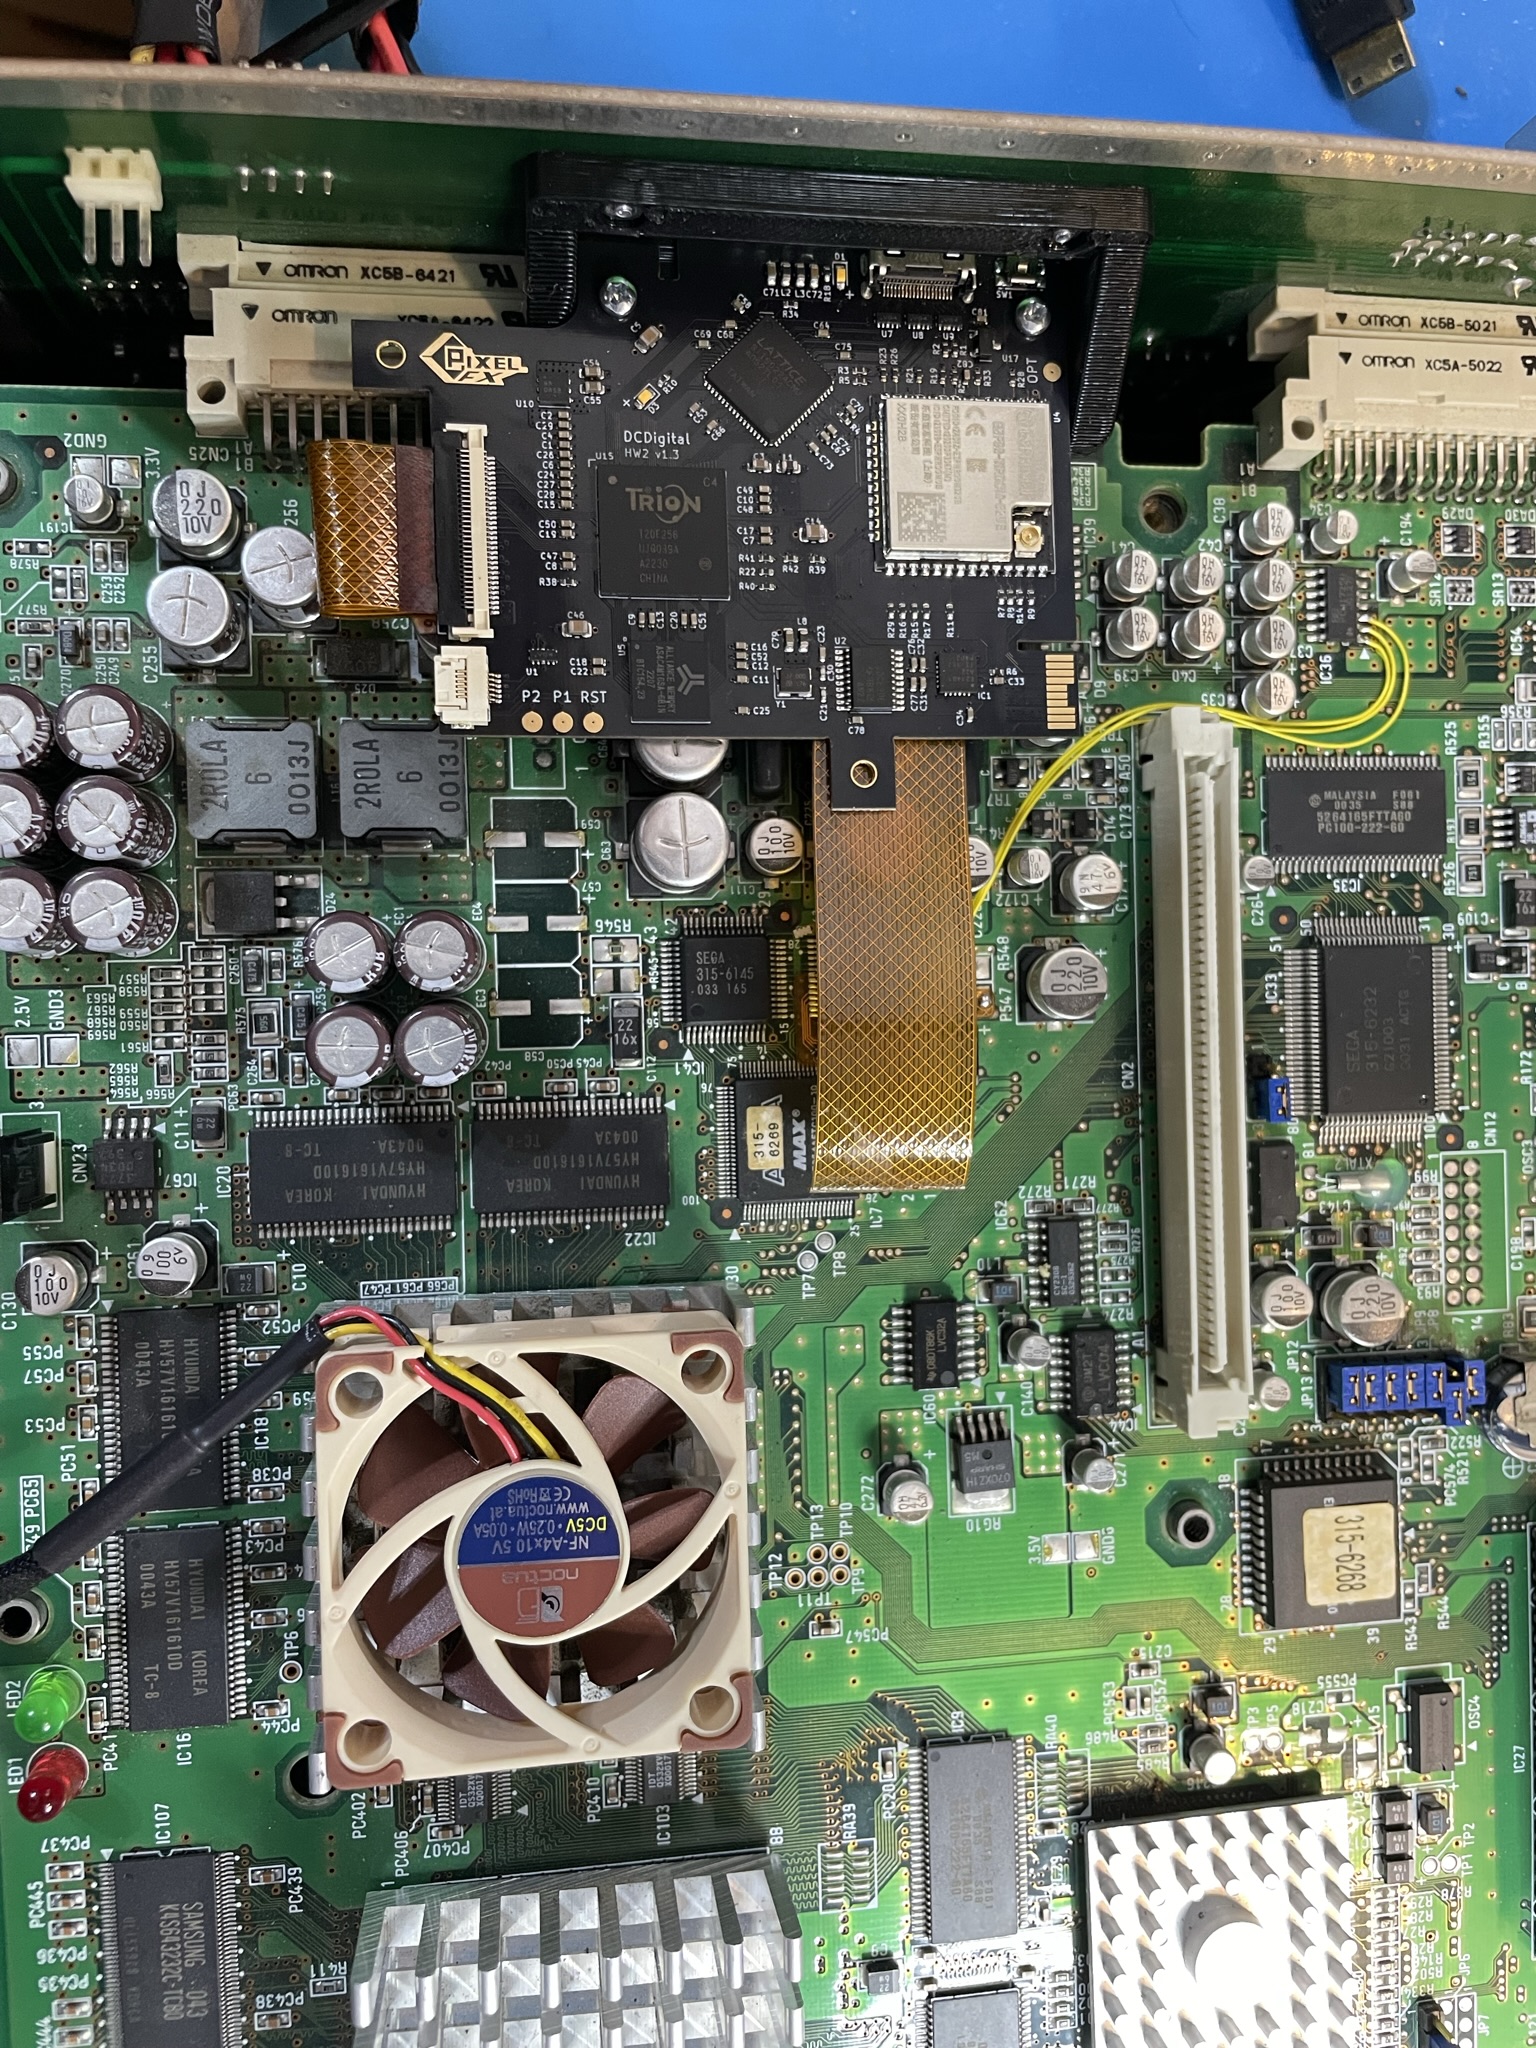
Naomi 2
Install the main flex as shown below
Use hookup wire and connect the the audio and output resolution wires to the main flex.
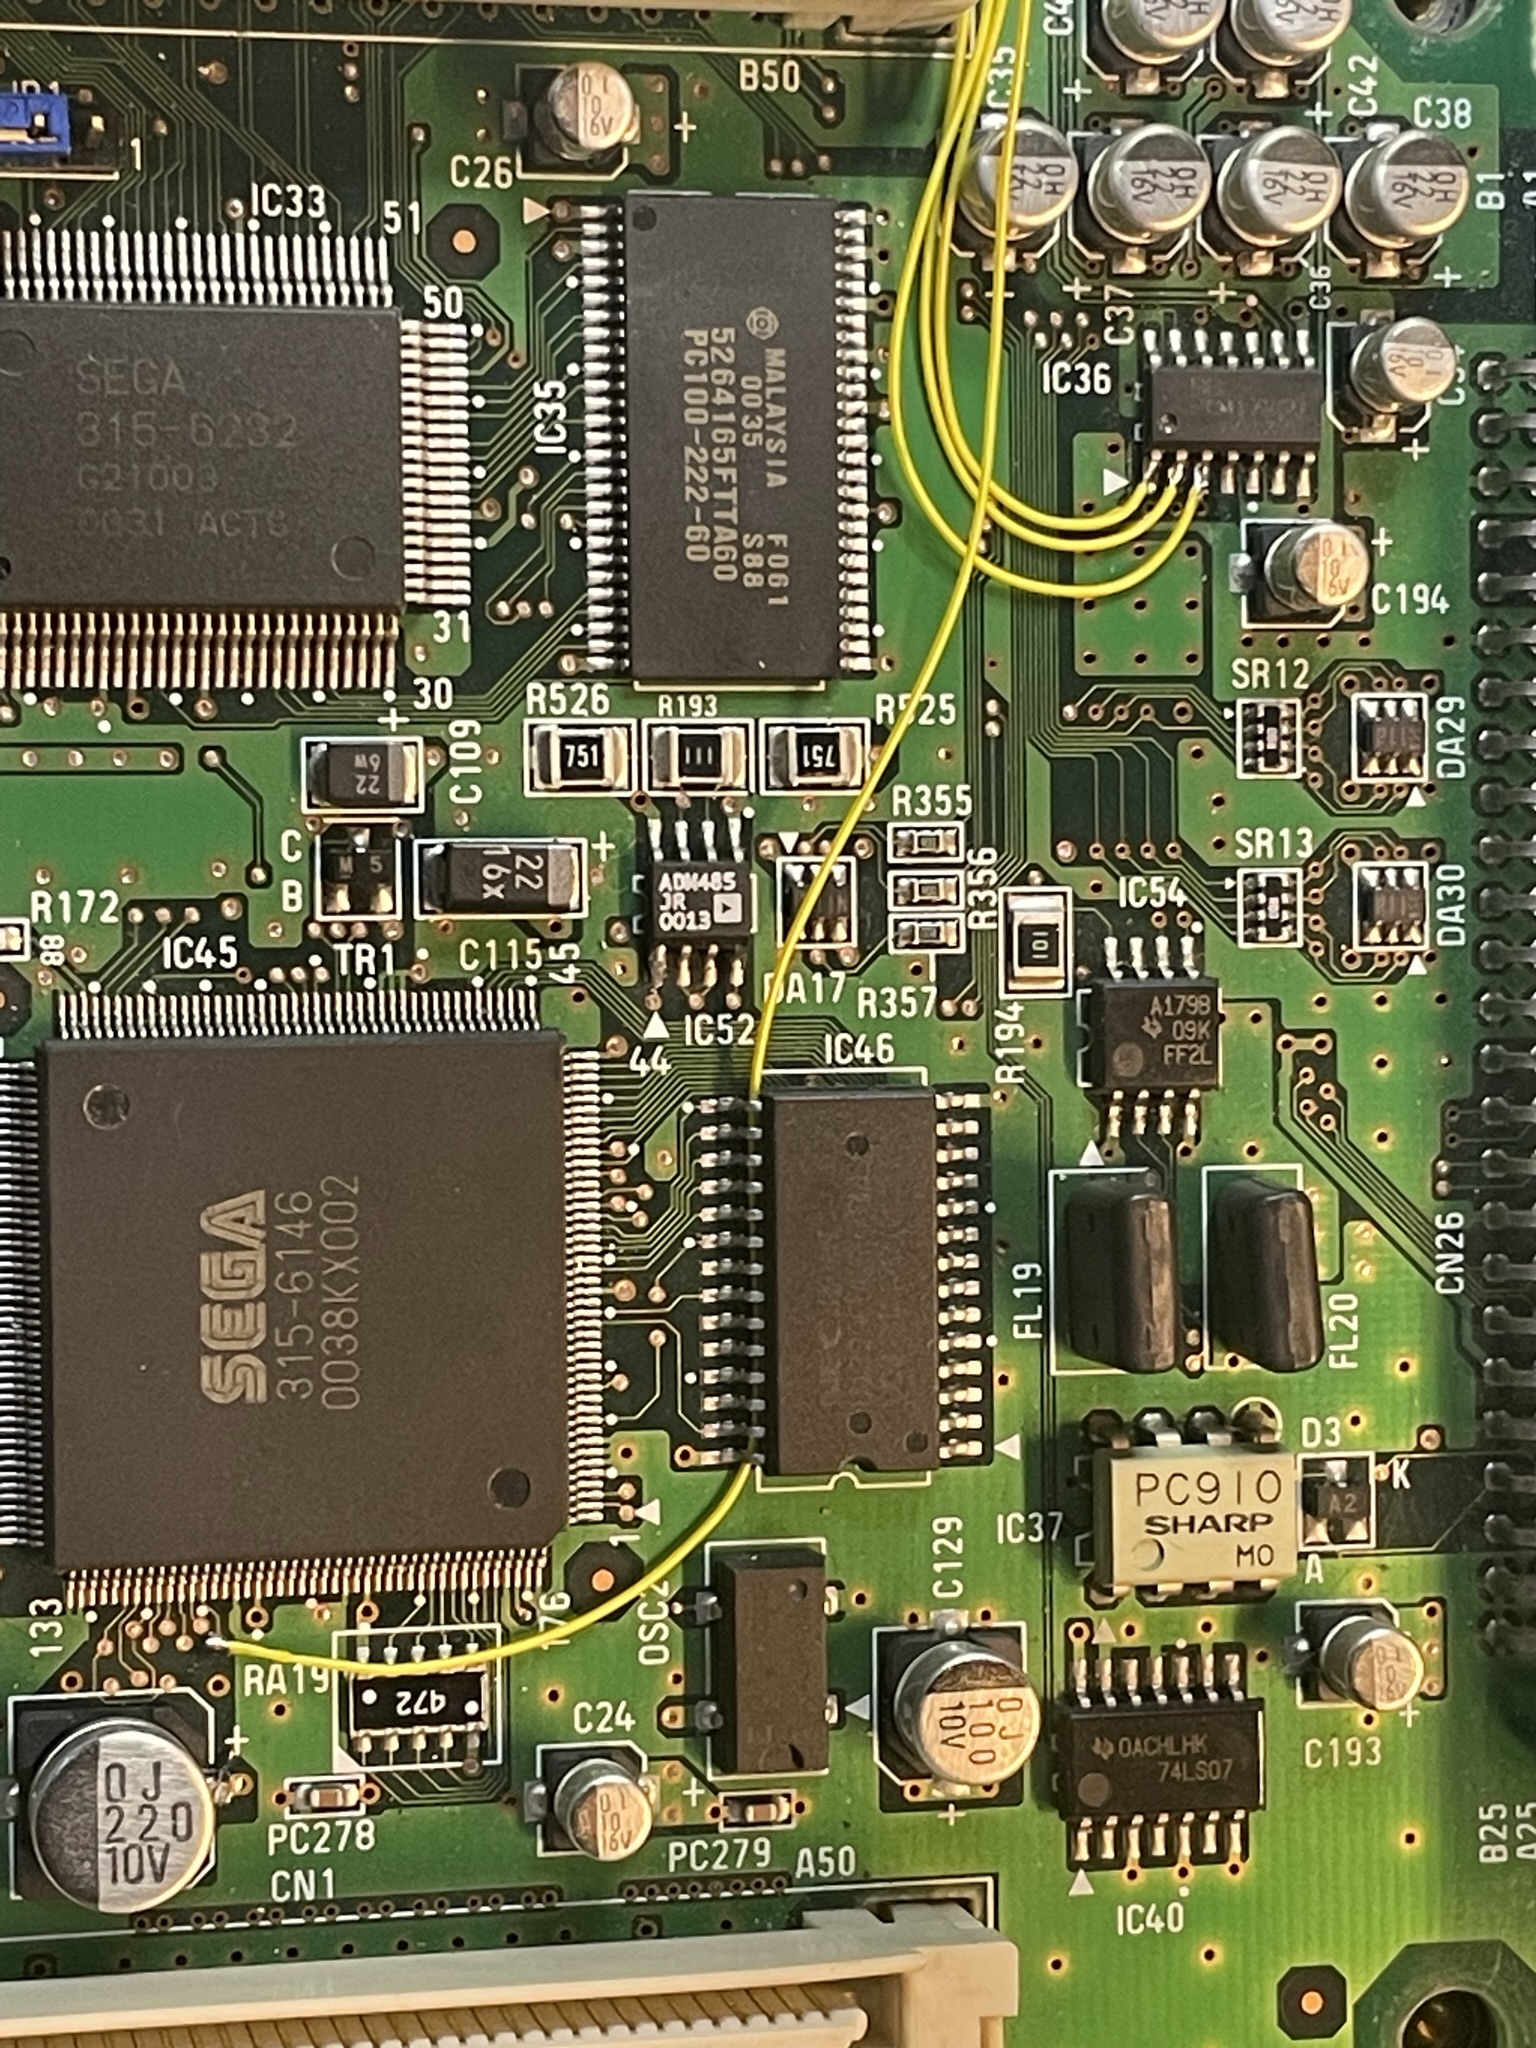
IC36
- PIN1 = PAD C
- PIN2 = PAD D
- PIN3 = PAD B
Solder Pad R to the via shown in the image above.
Step 2 - Confirm the flex installation
Click to expand/collapse
Always check for the shorts before powering the naomi
Reinstall the motherboard into the case but leave the plastic top removed. Hook up the DCDigital board to the main flex and connect a mini hdmi cable. Power on the Naomi and confirm video and audio is working on the unit. Once confirming please proceed to the next step.
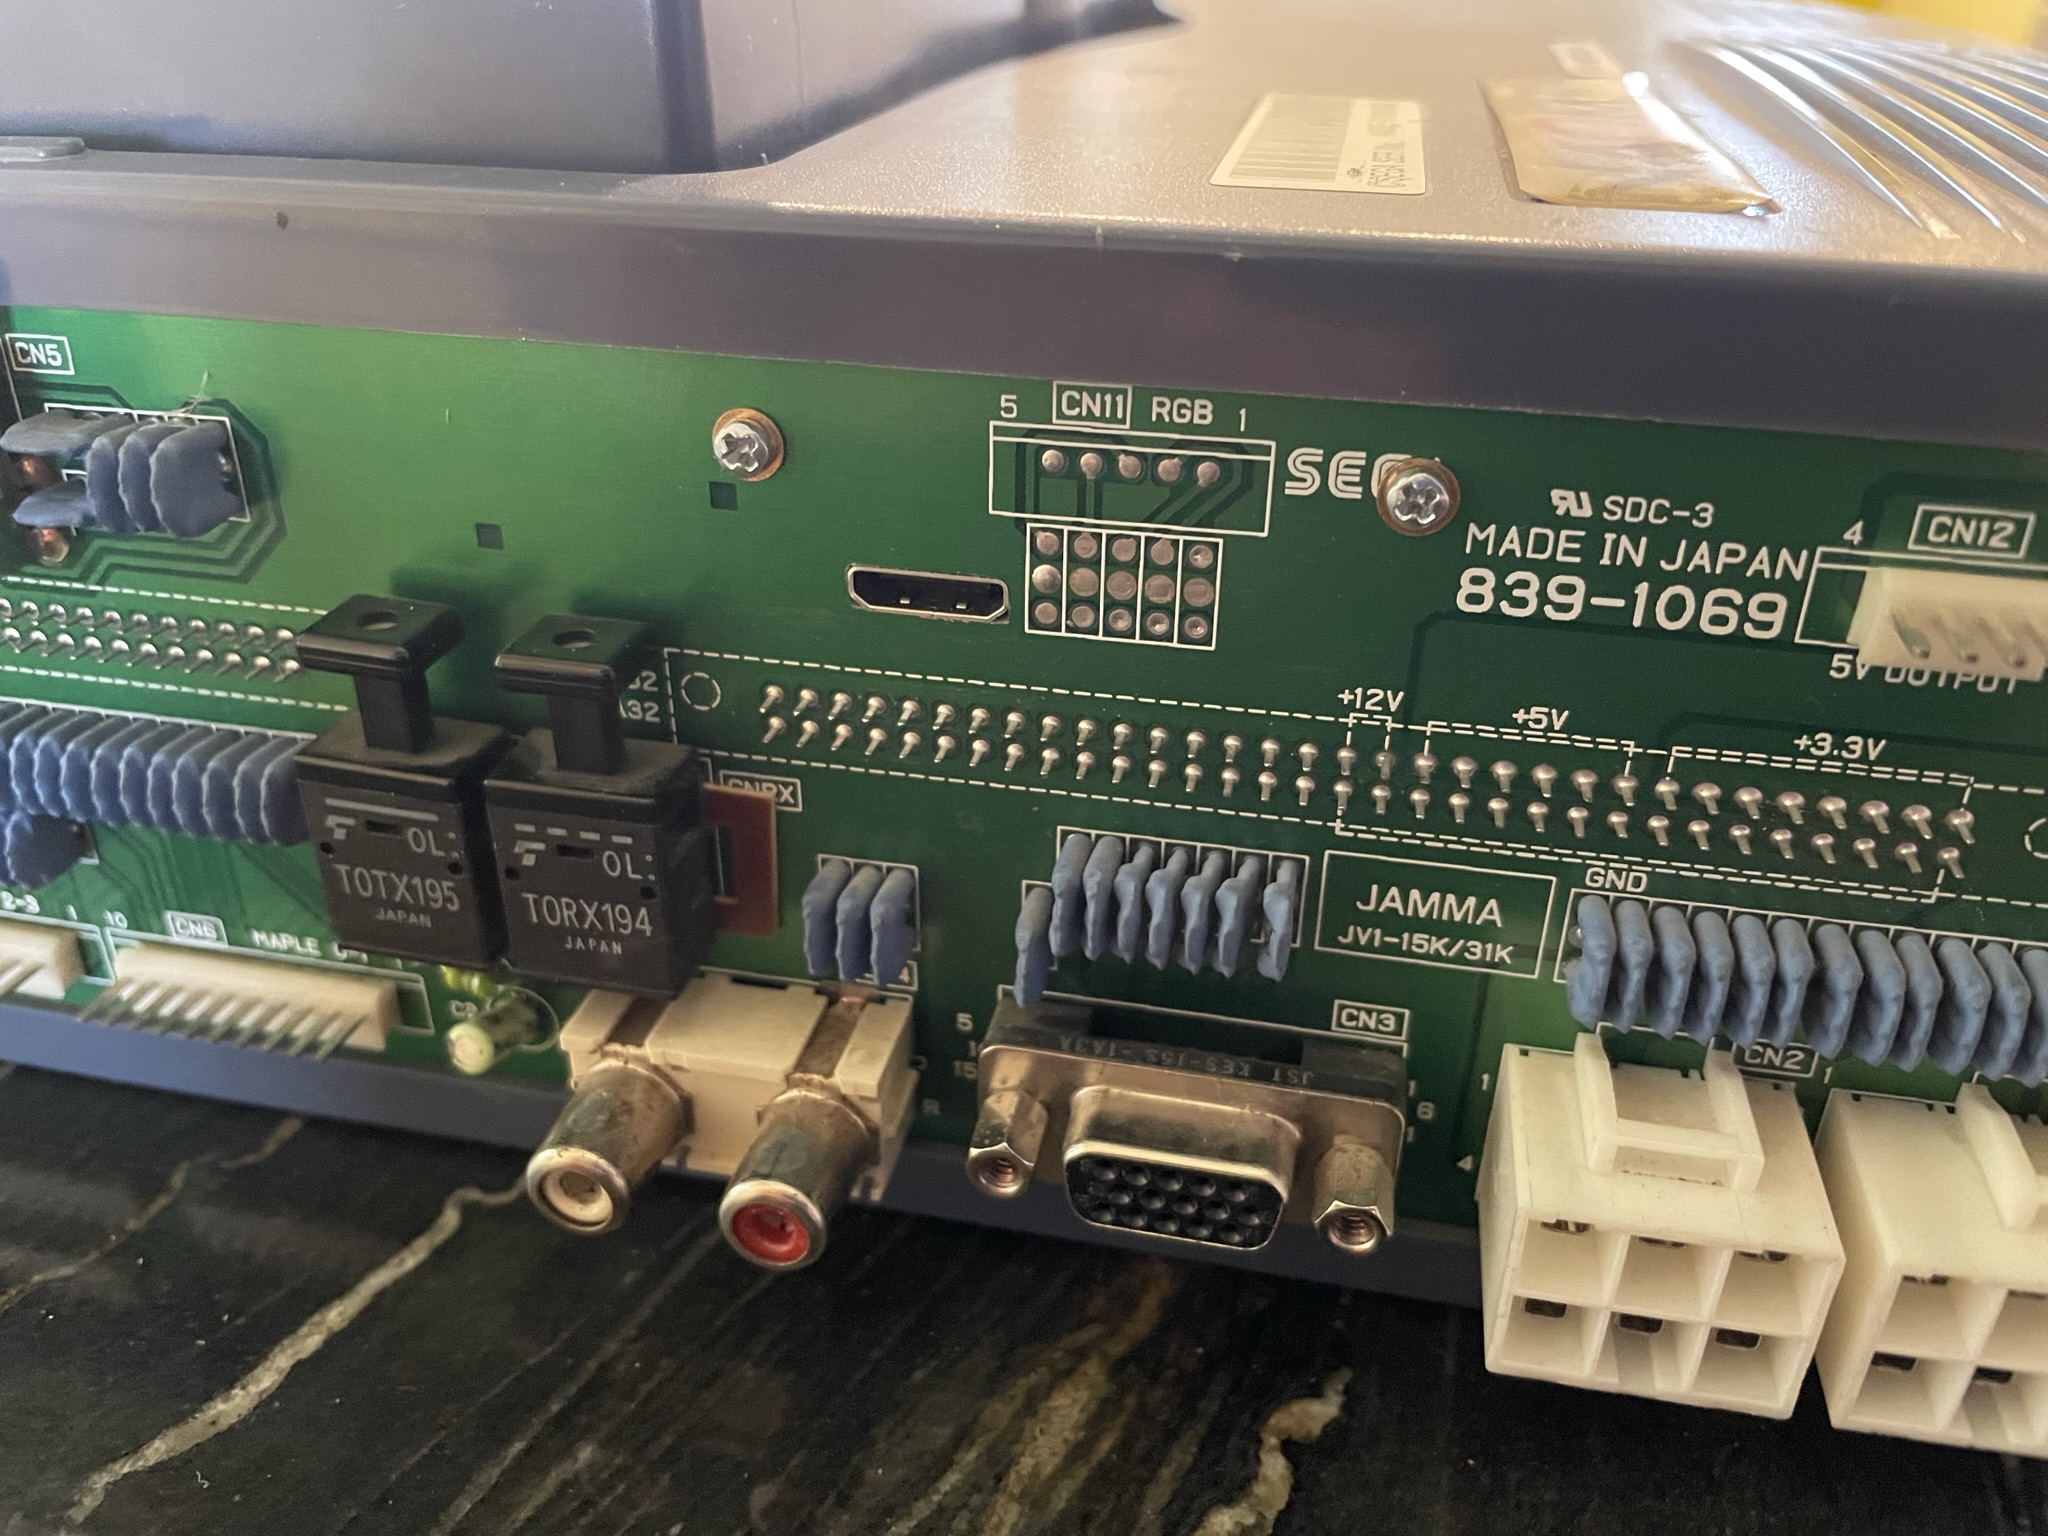
Step 3 - HDMI cutout
Click to expand/collapse
Align the plastic hdmi cut tool as shown below. Use the skilkscreen for alignment.
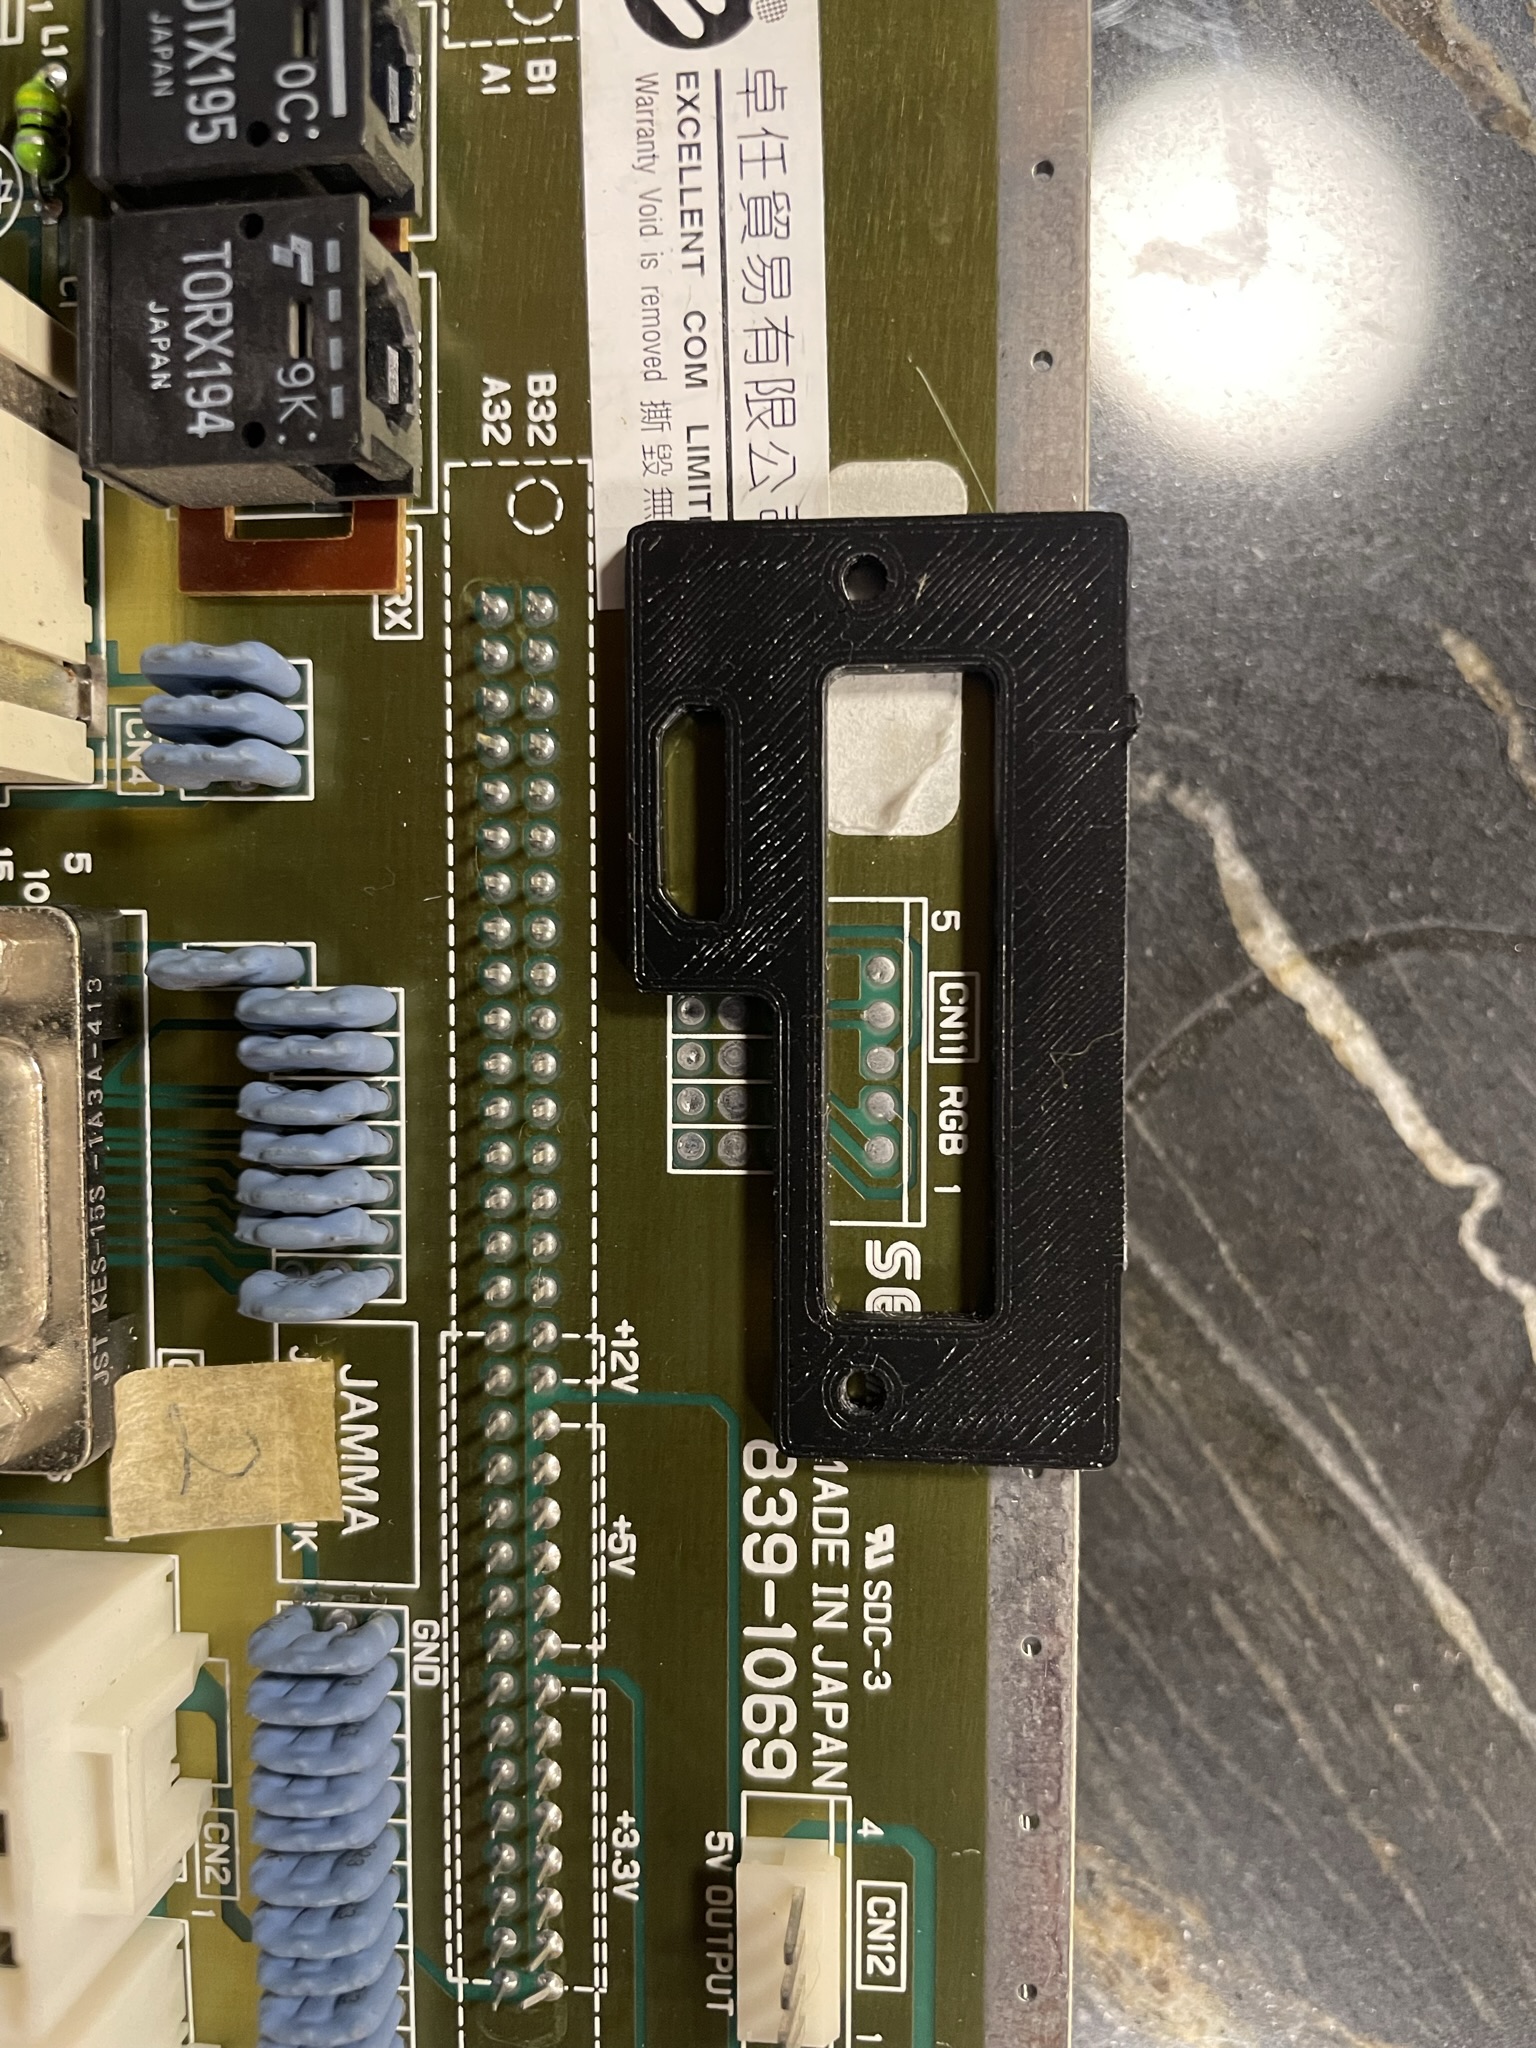
Drill one 2mm hole and temperally install 1 screw and nut.
Drill the other 2mm hole and temperally install another screw. With the hdmi tool mounted,
Use a drill and mini file set to create the hdmi hole. Please use a mask or other precations as PCB material is harmful to breath.
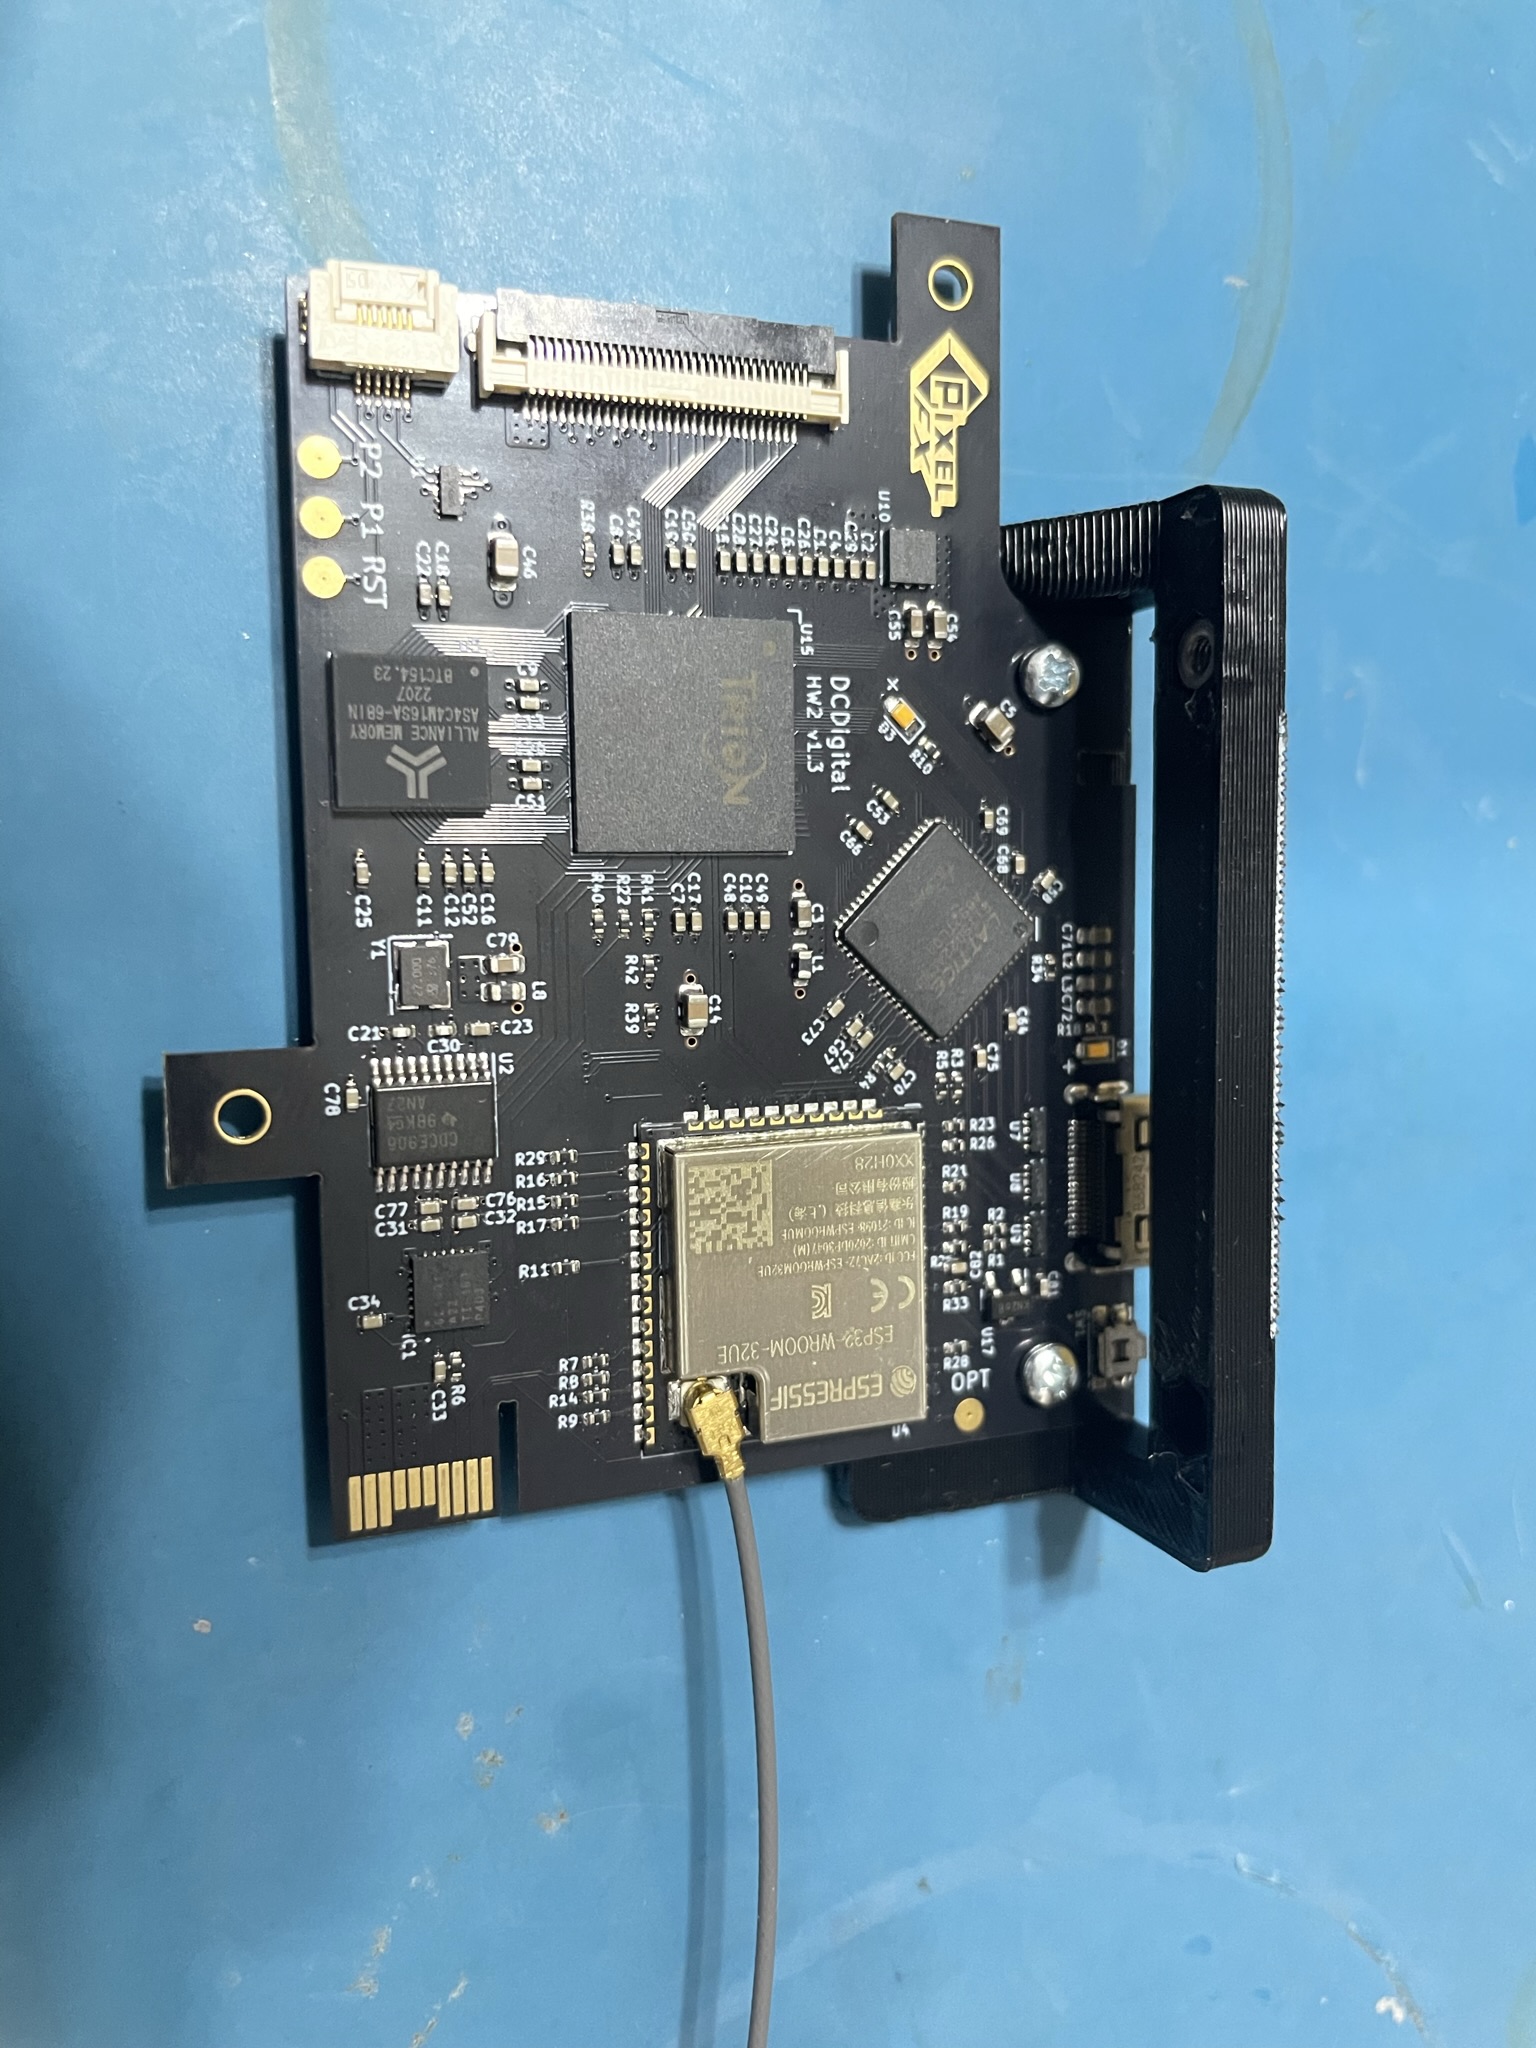
Mount the DCDigital board to the supplied mount using the short M2 screws and nuts.
Install the mount as shown below.

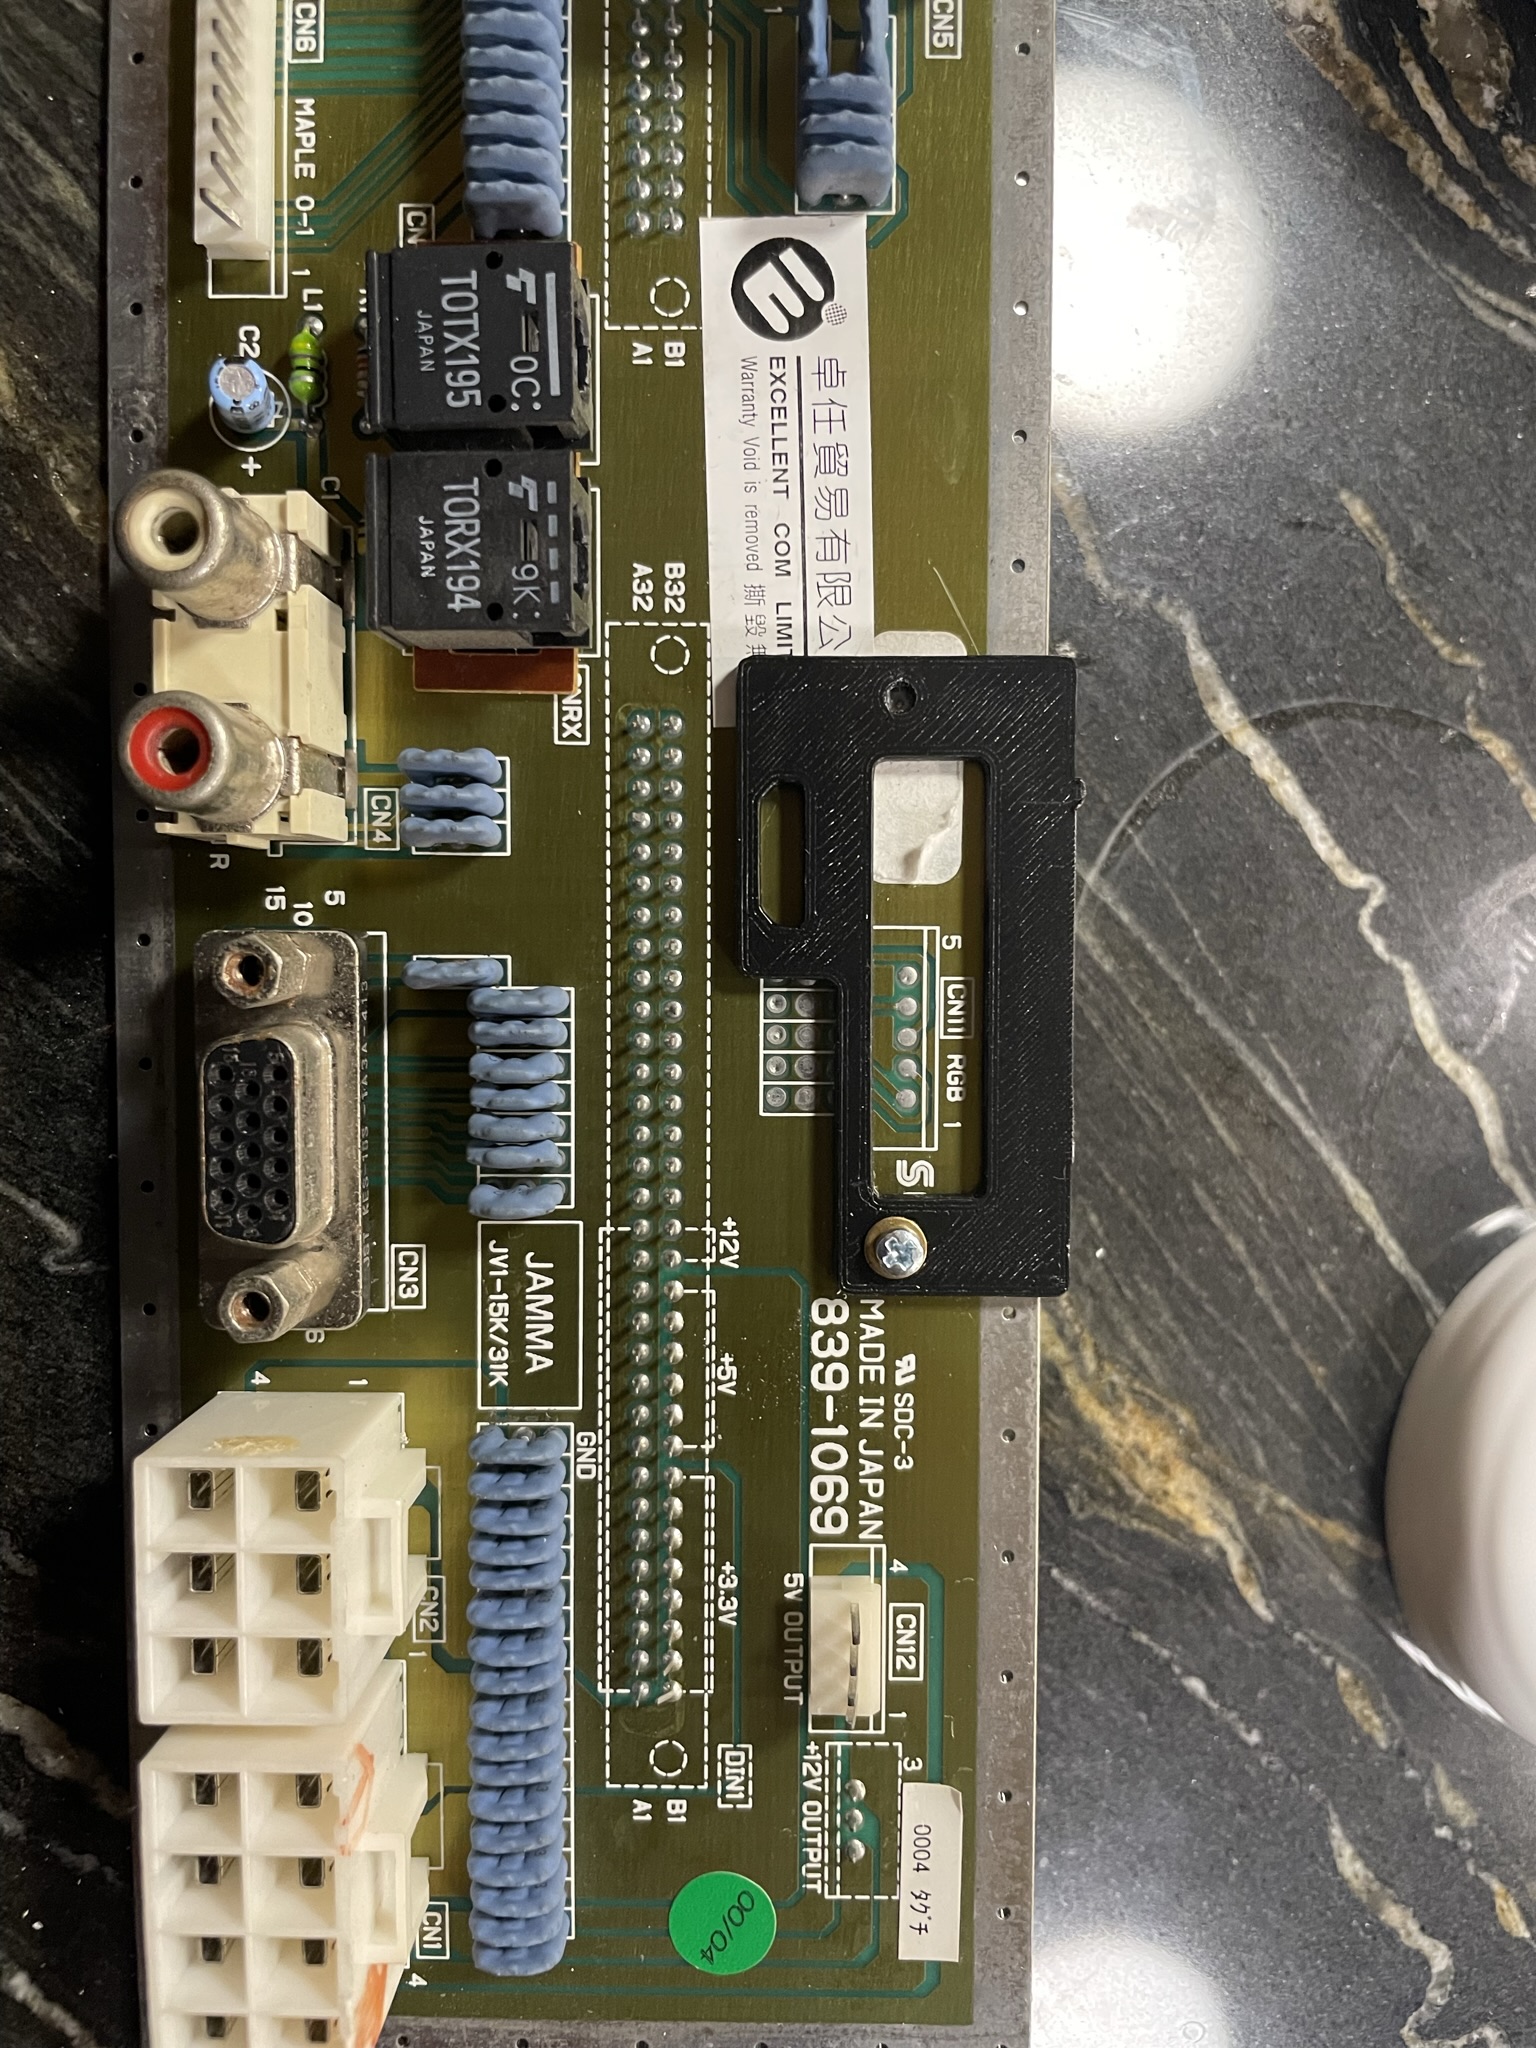
Step 4 - Finishing up
Click to expand/collapse
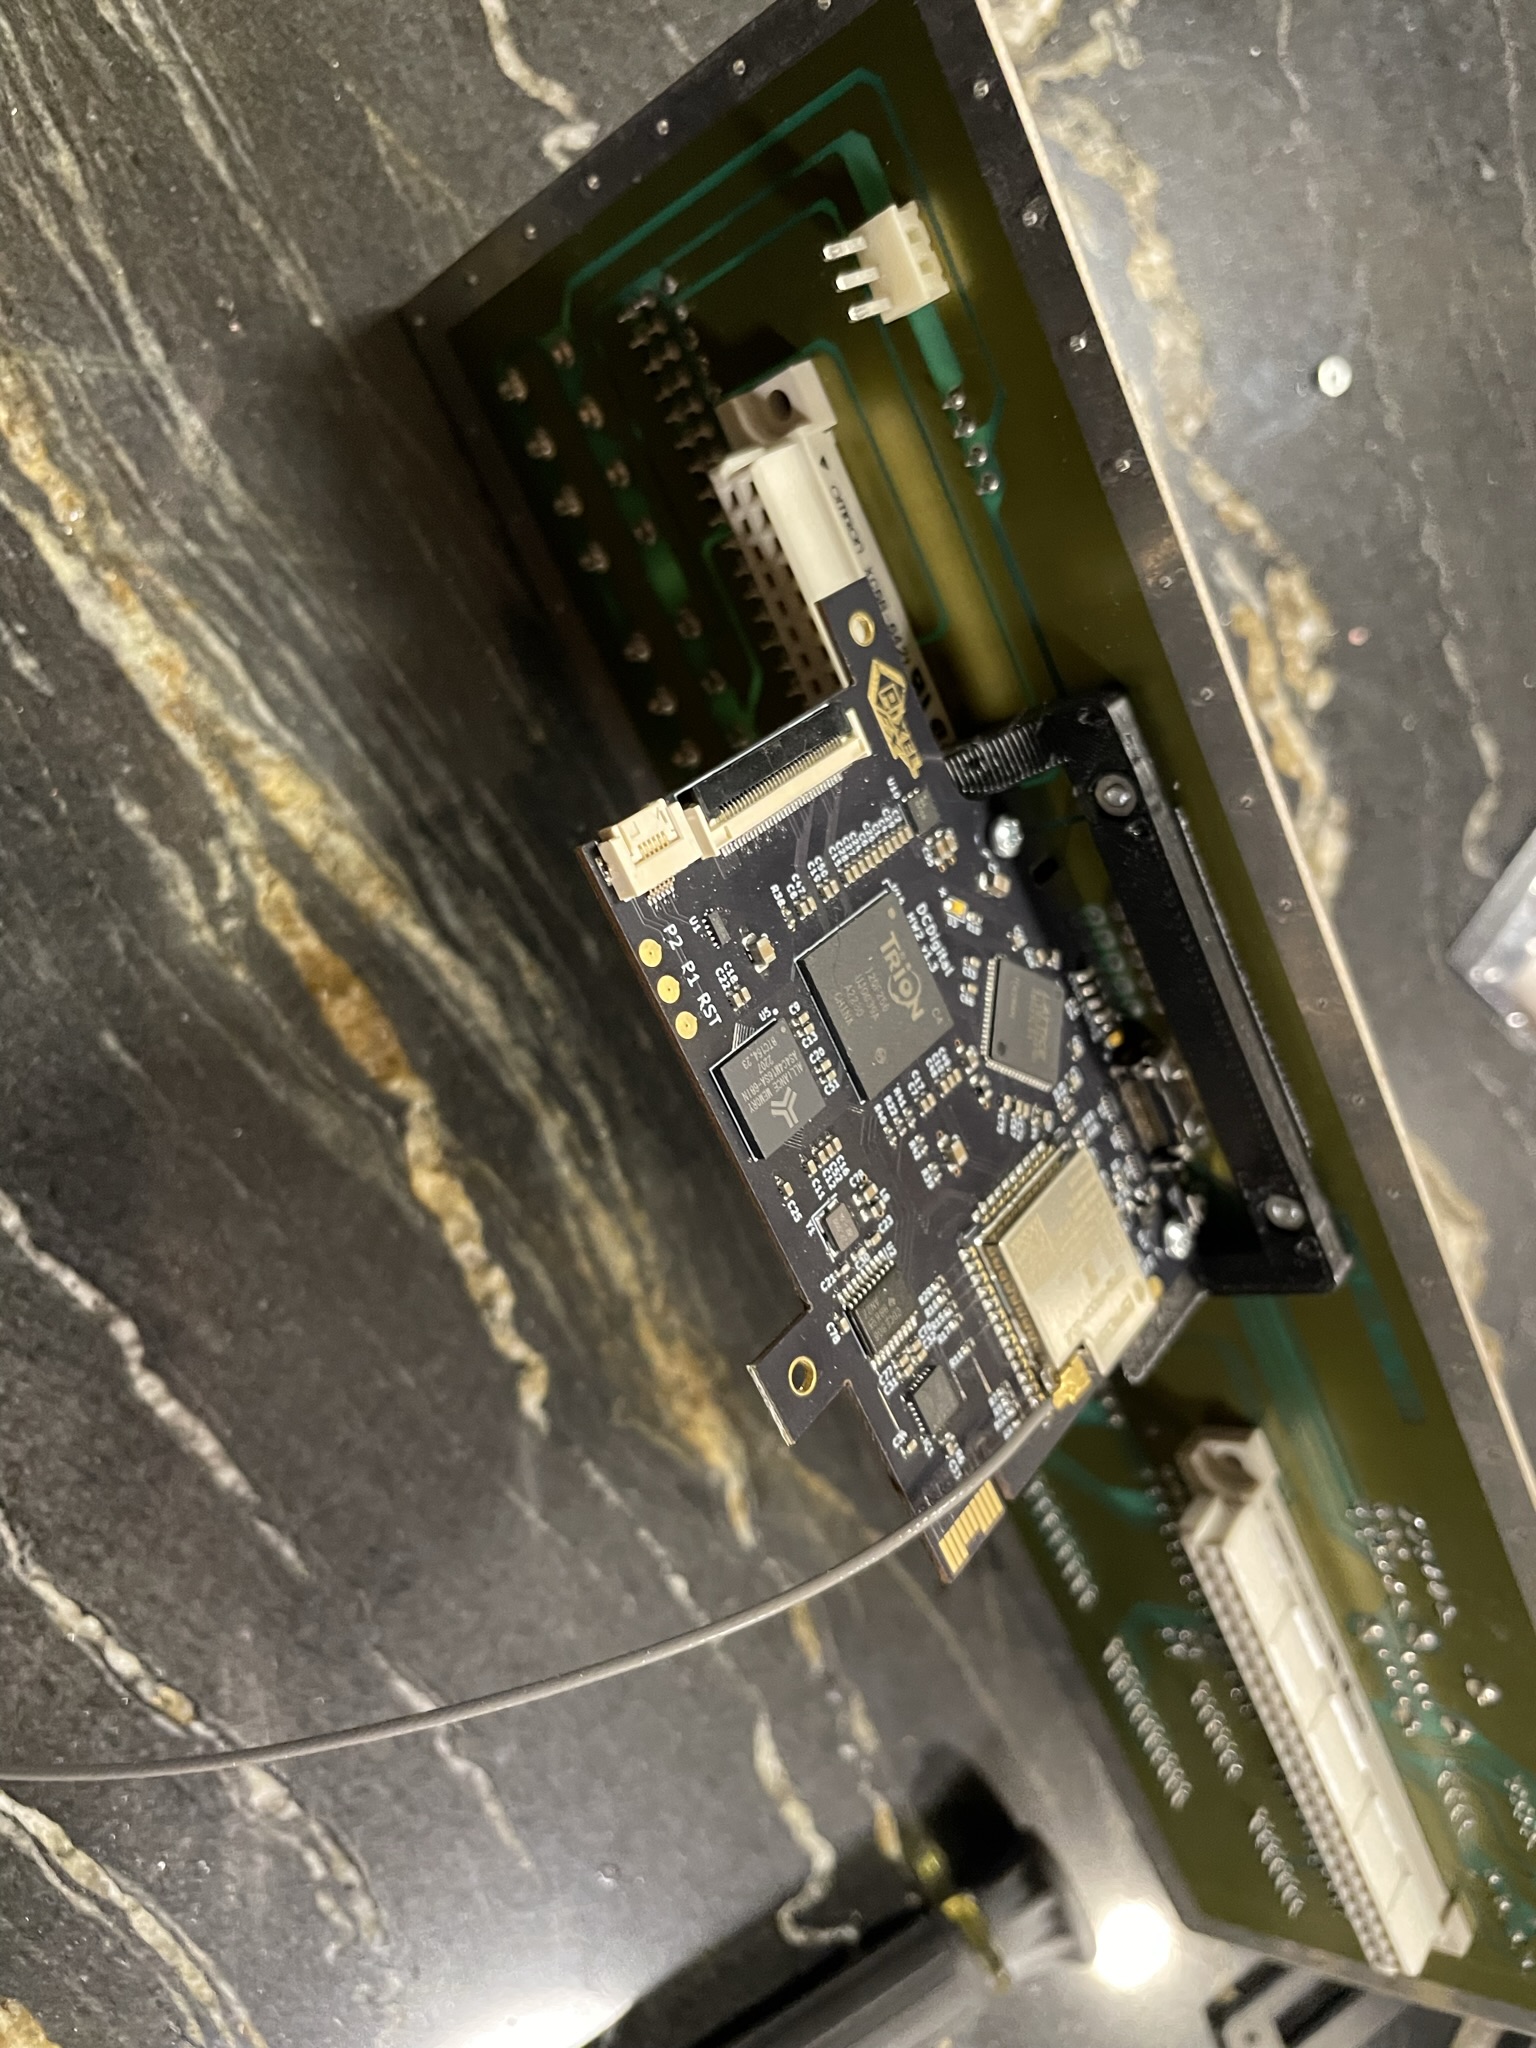
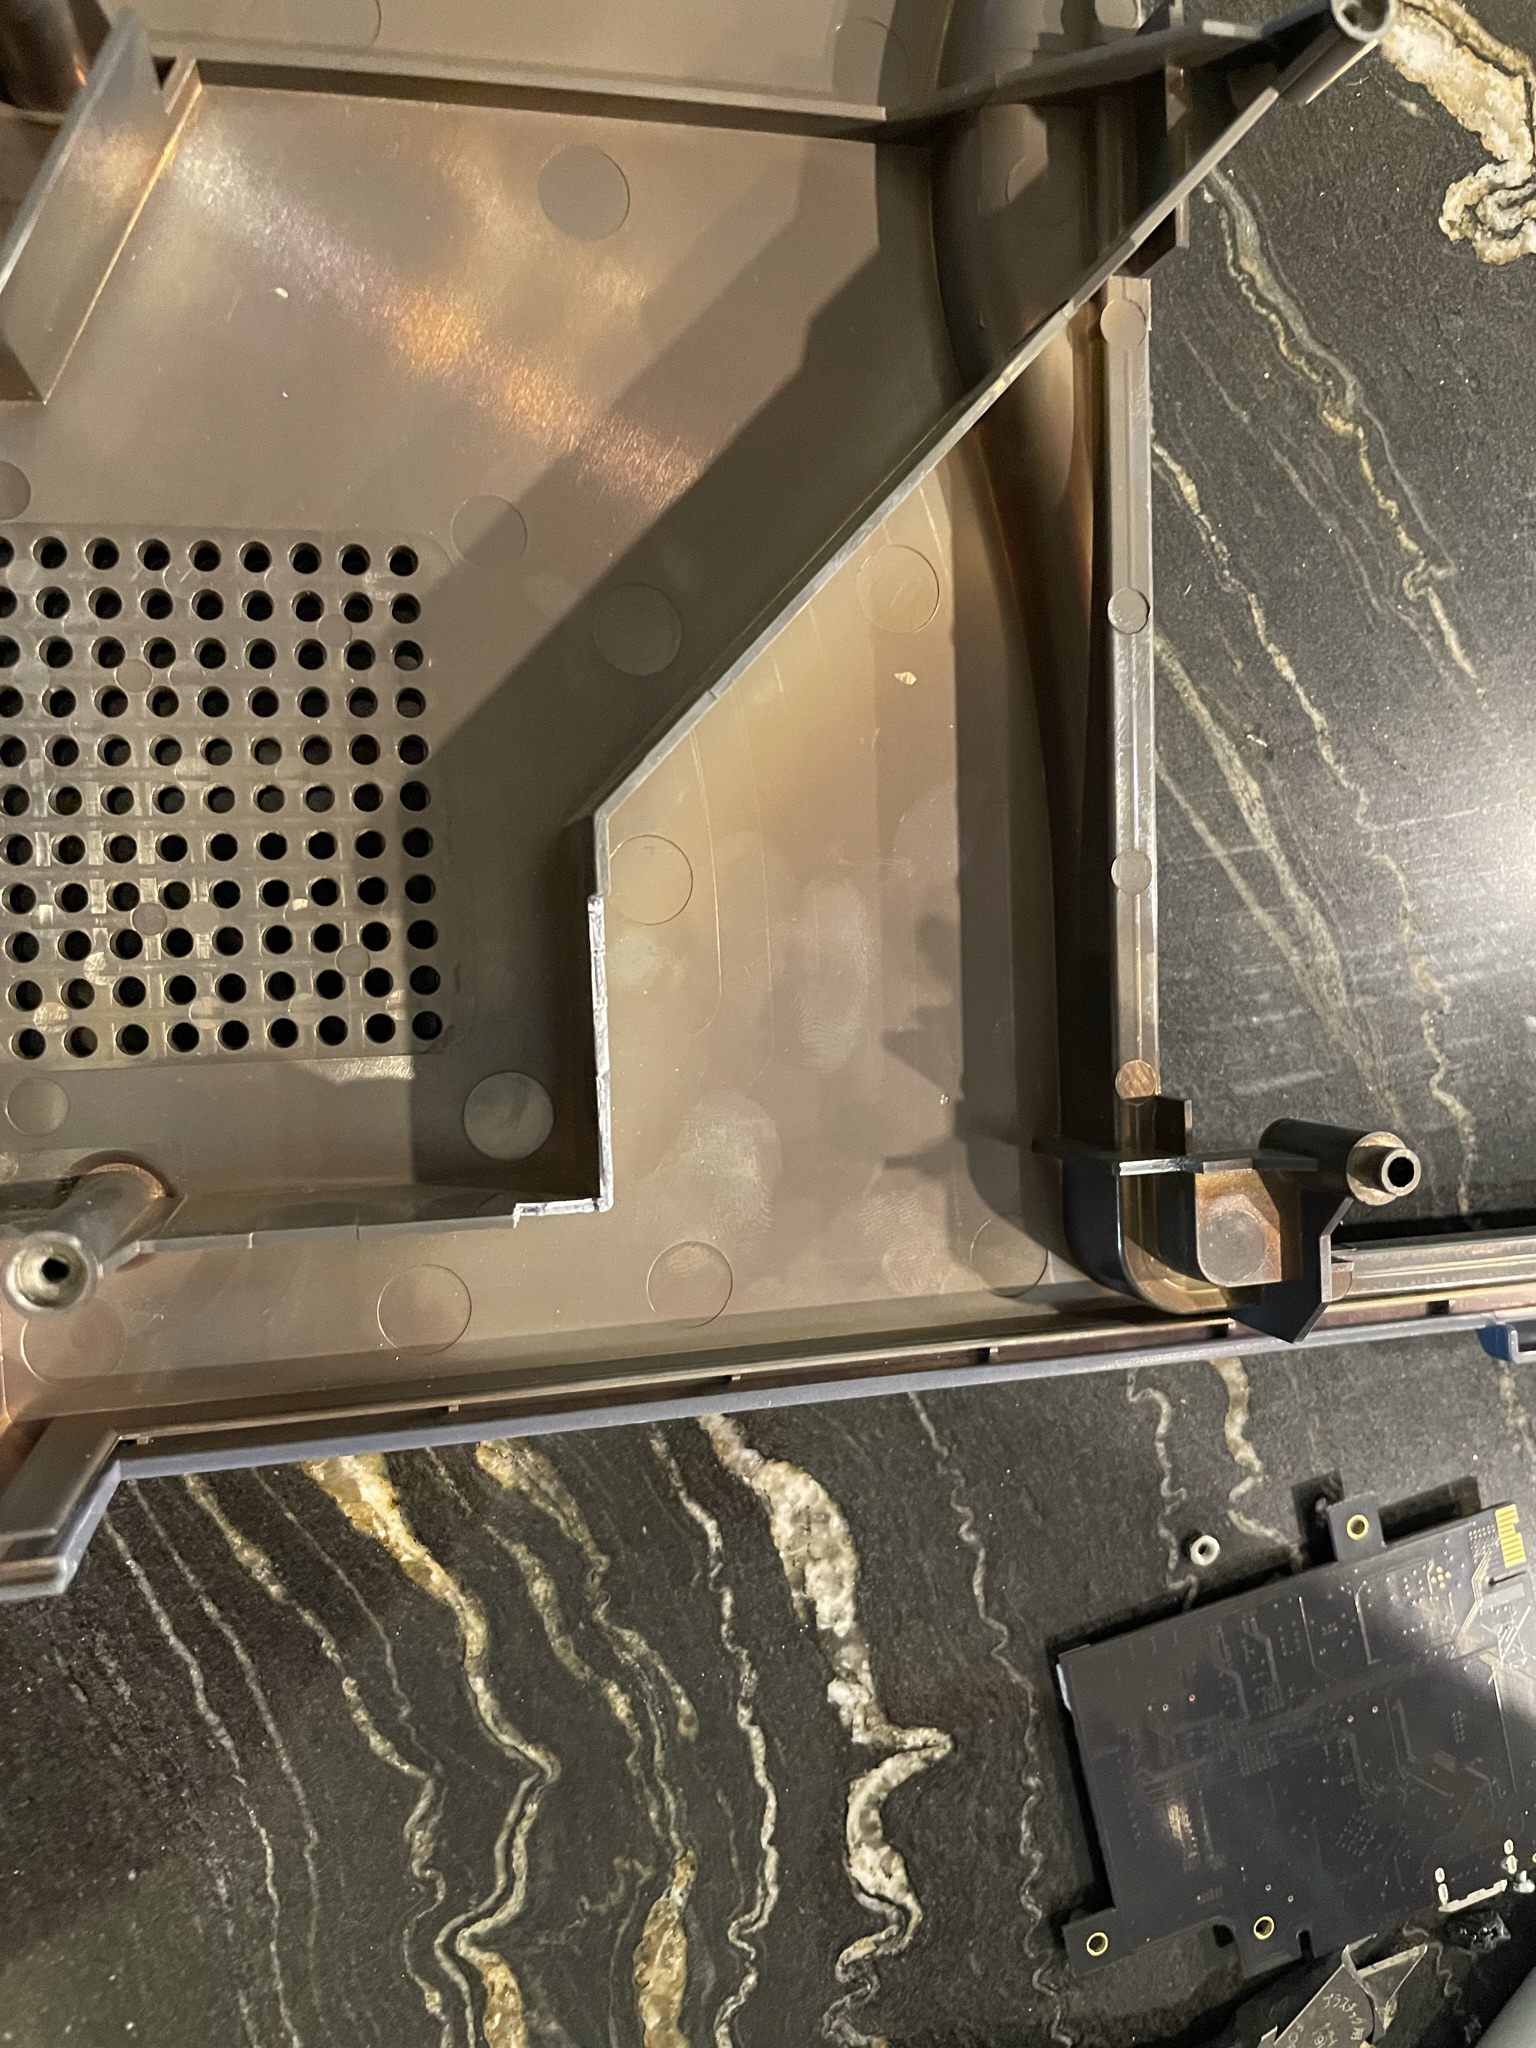
Reinstall the Naomi motherboard into the bottom case and plug in the flex as shown.
Trim the top case.
Congratulations the physical installation is done.
You can control the OSD with a CEC remote or through wifi. The dcdigital wifi wizard will automatically start when connected to the naomi.
Configure the wifi for your network and setup a username/password for the dcdigital. Once connected you can access the Web-UI through http://dcdigital.local/ or http://IP-ADDR/
The Web-UI has a remote feature that will allow you to navigate the OSD.
Once inside the OSD go into the advanced > dcdigital and set the kit to the Naomi.
You are ready to start playing!